> ## Documentation Index
> Fetch the complete documentation index at: https://newwebsite.mintlify.site/llms.txt
> Use this file to discover all available pages before exploring further.
# Media
> Upload and manage images and videos for your website projects
## Media Library
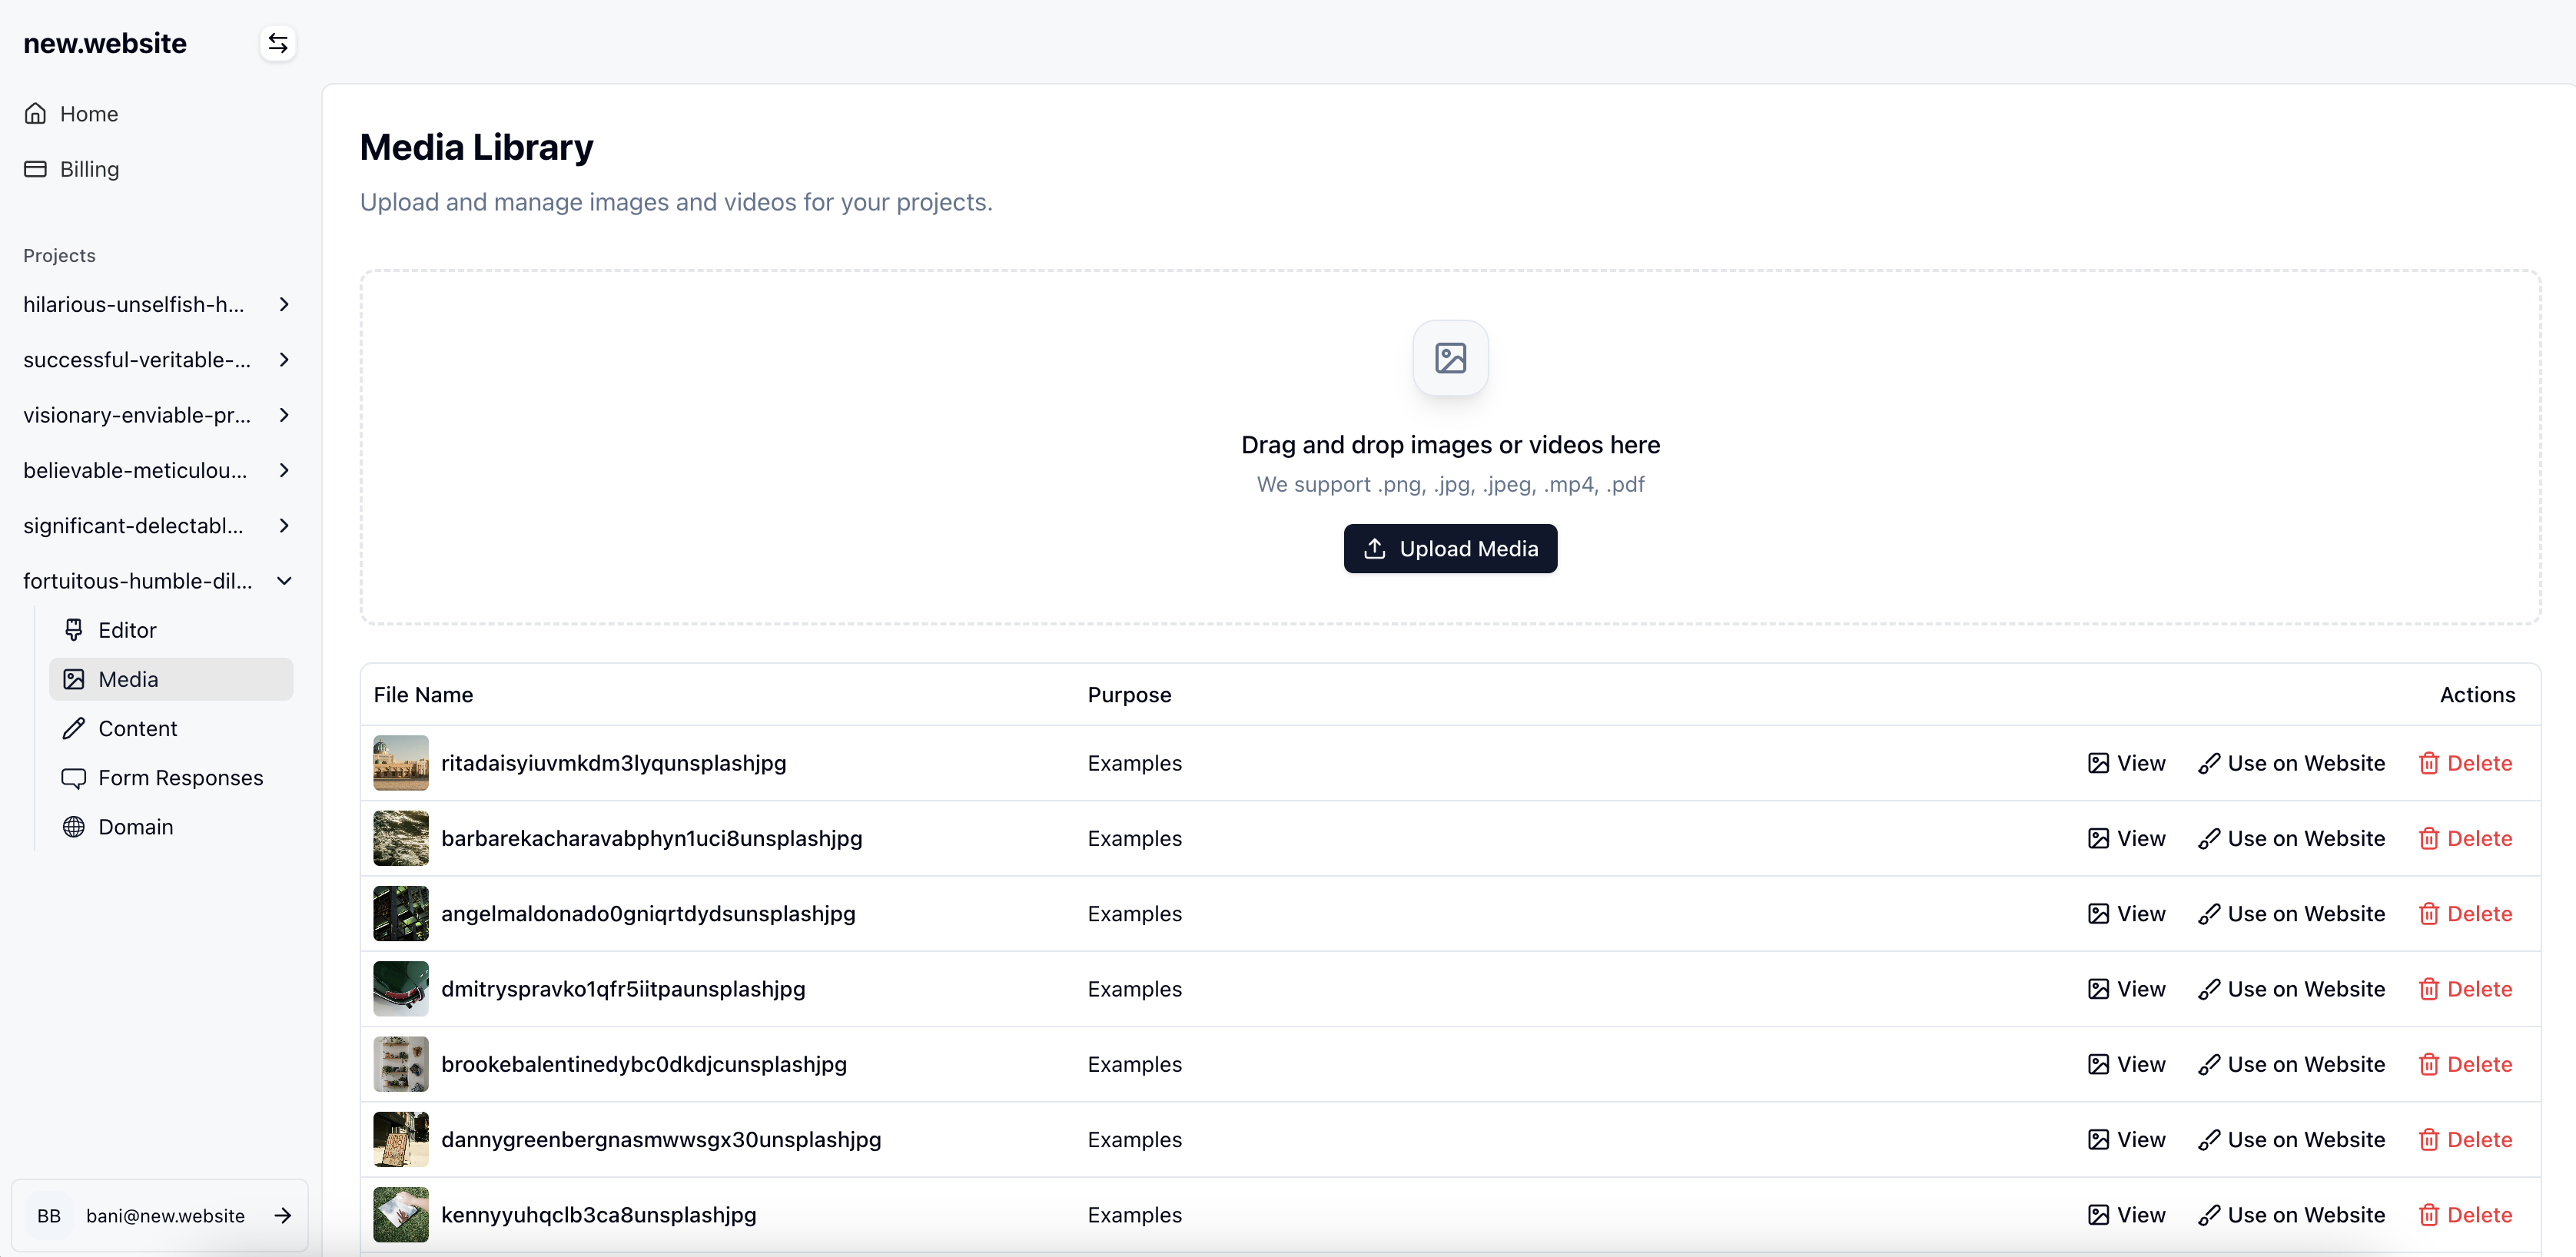
Upload and manage images and videos for your projects. The media library helps you organize your visual content and makes it easy to add media to your website.
 ## How to Upload and Use Media
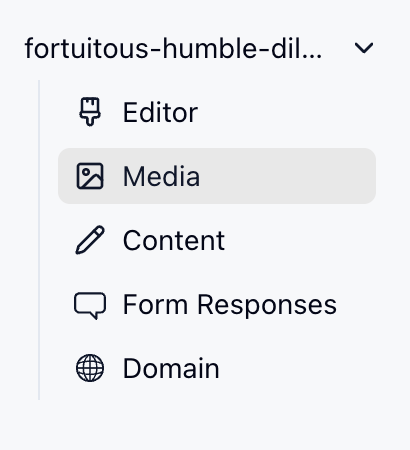
Navigate to your project in the new\.website dashboard and click on "Media" in the left sidebar to access your media library.
## How to Upload and Use Media
Navigate to your project in the new\.website dashboard and click on "Media" in the left sidebar to access your media library.
 1. Click on the **"Upload Media"** button
2. Select your images or videos to upload
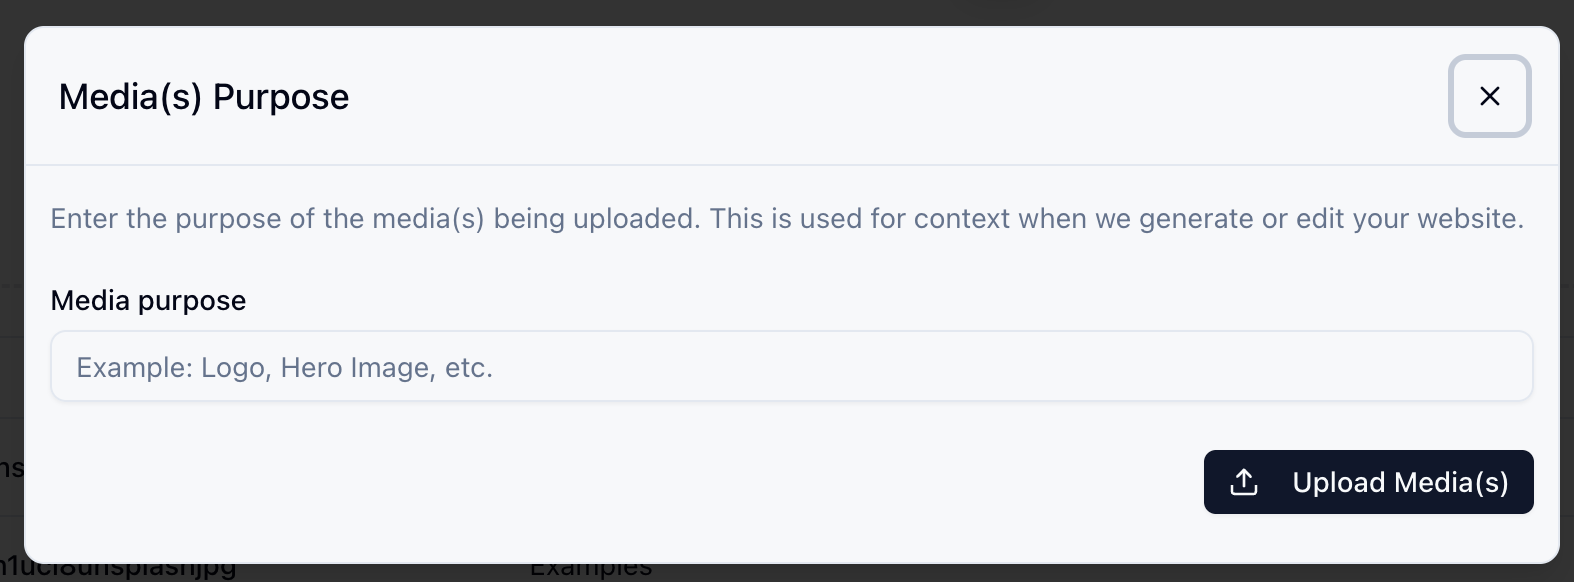
3. Add a purpose description to help organize your media (e.g., "Logo", "Hero Image", "Product Photos")
4. Click **"Upload Media(s)"** to complete the upload
1. Click on the **"Upload Media"** button
2. Select your images or videos to upload
3. Add a purpose description to help organize your media (e.g., "Logo", "Hero Image", "Product Photos")
4. Click **"Upload Media(s)"** to complete the upload
 Once uploaded, you have two ways to add media to your website:
**Method 1: Use on Website Button**
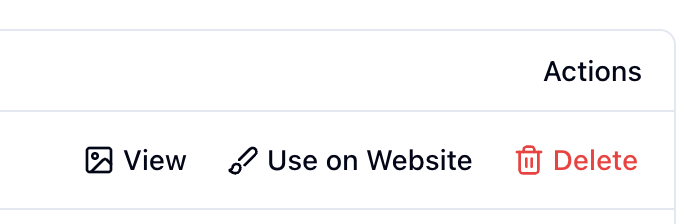
Click the **"Use on Website"** button next to any media file to add it directly to your website.
Once uploaded, you have two ways to add media to your website:
**Method 1: Use on Website Button**
Click the **"Use on Website"** button next to any media file to add it directly to your website.
 **Method 2: Using the Editor**
1. Go to your website editor
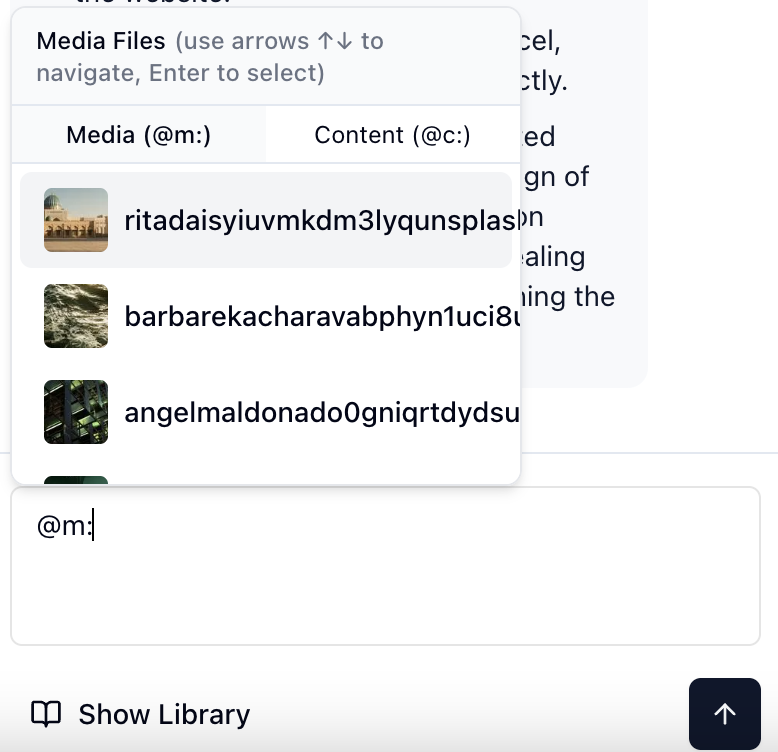
2. Type `@m:` to see a dropdown of all your media files
3. Click on the media file you want to add
4. The media will be inserted at your cursor position
Use the `@m:` shortcut in the editor to quickly access and insert any of your media files while building your website.
**Method 2: Using the Editor**
1. Go to your website editor
2. Type `@m:` to see a dropdown of all your media files
3. Click on the media file you want to add
4. The media will be inserted at your cursor position
Use the `@m:` shortcut in the editor to quickly access and insert any of your media files while building your website.
 ## Media Features
### Supported File Types
* **Images**: .png, .jpg, .jpeg formats
* **Videos**: .mp4 format
* **Documents**: .pdf format
### Organization
* Add purpose descriptions to categorize your media
* View all media in an organized library
* Search and filter by purpose or file name
### Easy Integration
* Quick "Use on Website" button for immediate placement
* Editor shortcuts with `@m:` command
* Automatic optimization for web performance
Media storage is included with all new\.website plans.
## Media Features
### Supported File Types
* **Images**: .png, .jpg, .jpeg formats
* **Videos**: .mp4 format
* **Documents**: .pdf format
### Organization
* Add purpose descriptions to categorize your media
* View all media in an organized library
* Search and filter by purpose or file name
### Easy Integration
* Quick "Use on Website" button for immediate placement
* Editor shortcuts with `@m:` command
* Automatic optimization for web performance
Media storage is included with all new\.website plans.