> ## Documentation Index
> Fetch the complete documentation index at: https://newwebsite.mintlify.site/llms.txt
> Use this file to discover all available pages before exploring further.
# Team Management
> Invite your team to edit and collaborate on websites
## Team Management
Collaborate with your team by inviting members with specific roles and permissions. Control access to billing, team management, and editing capabilities based on user roles.
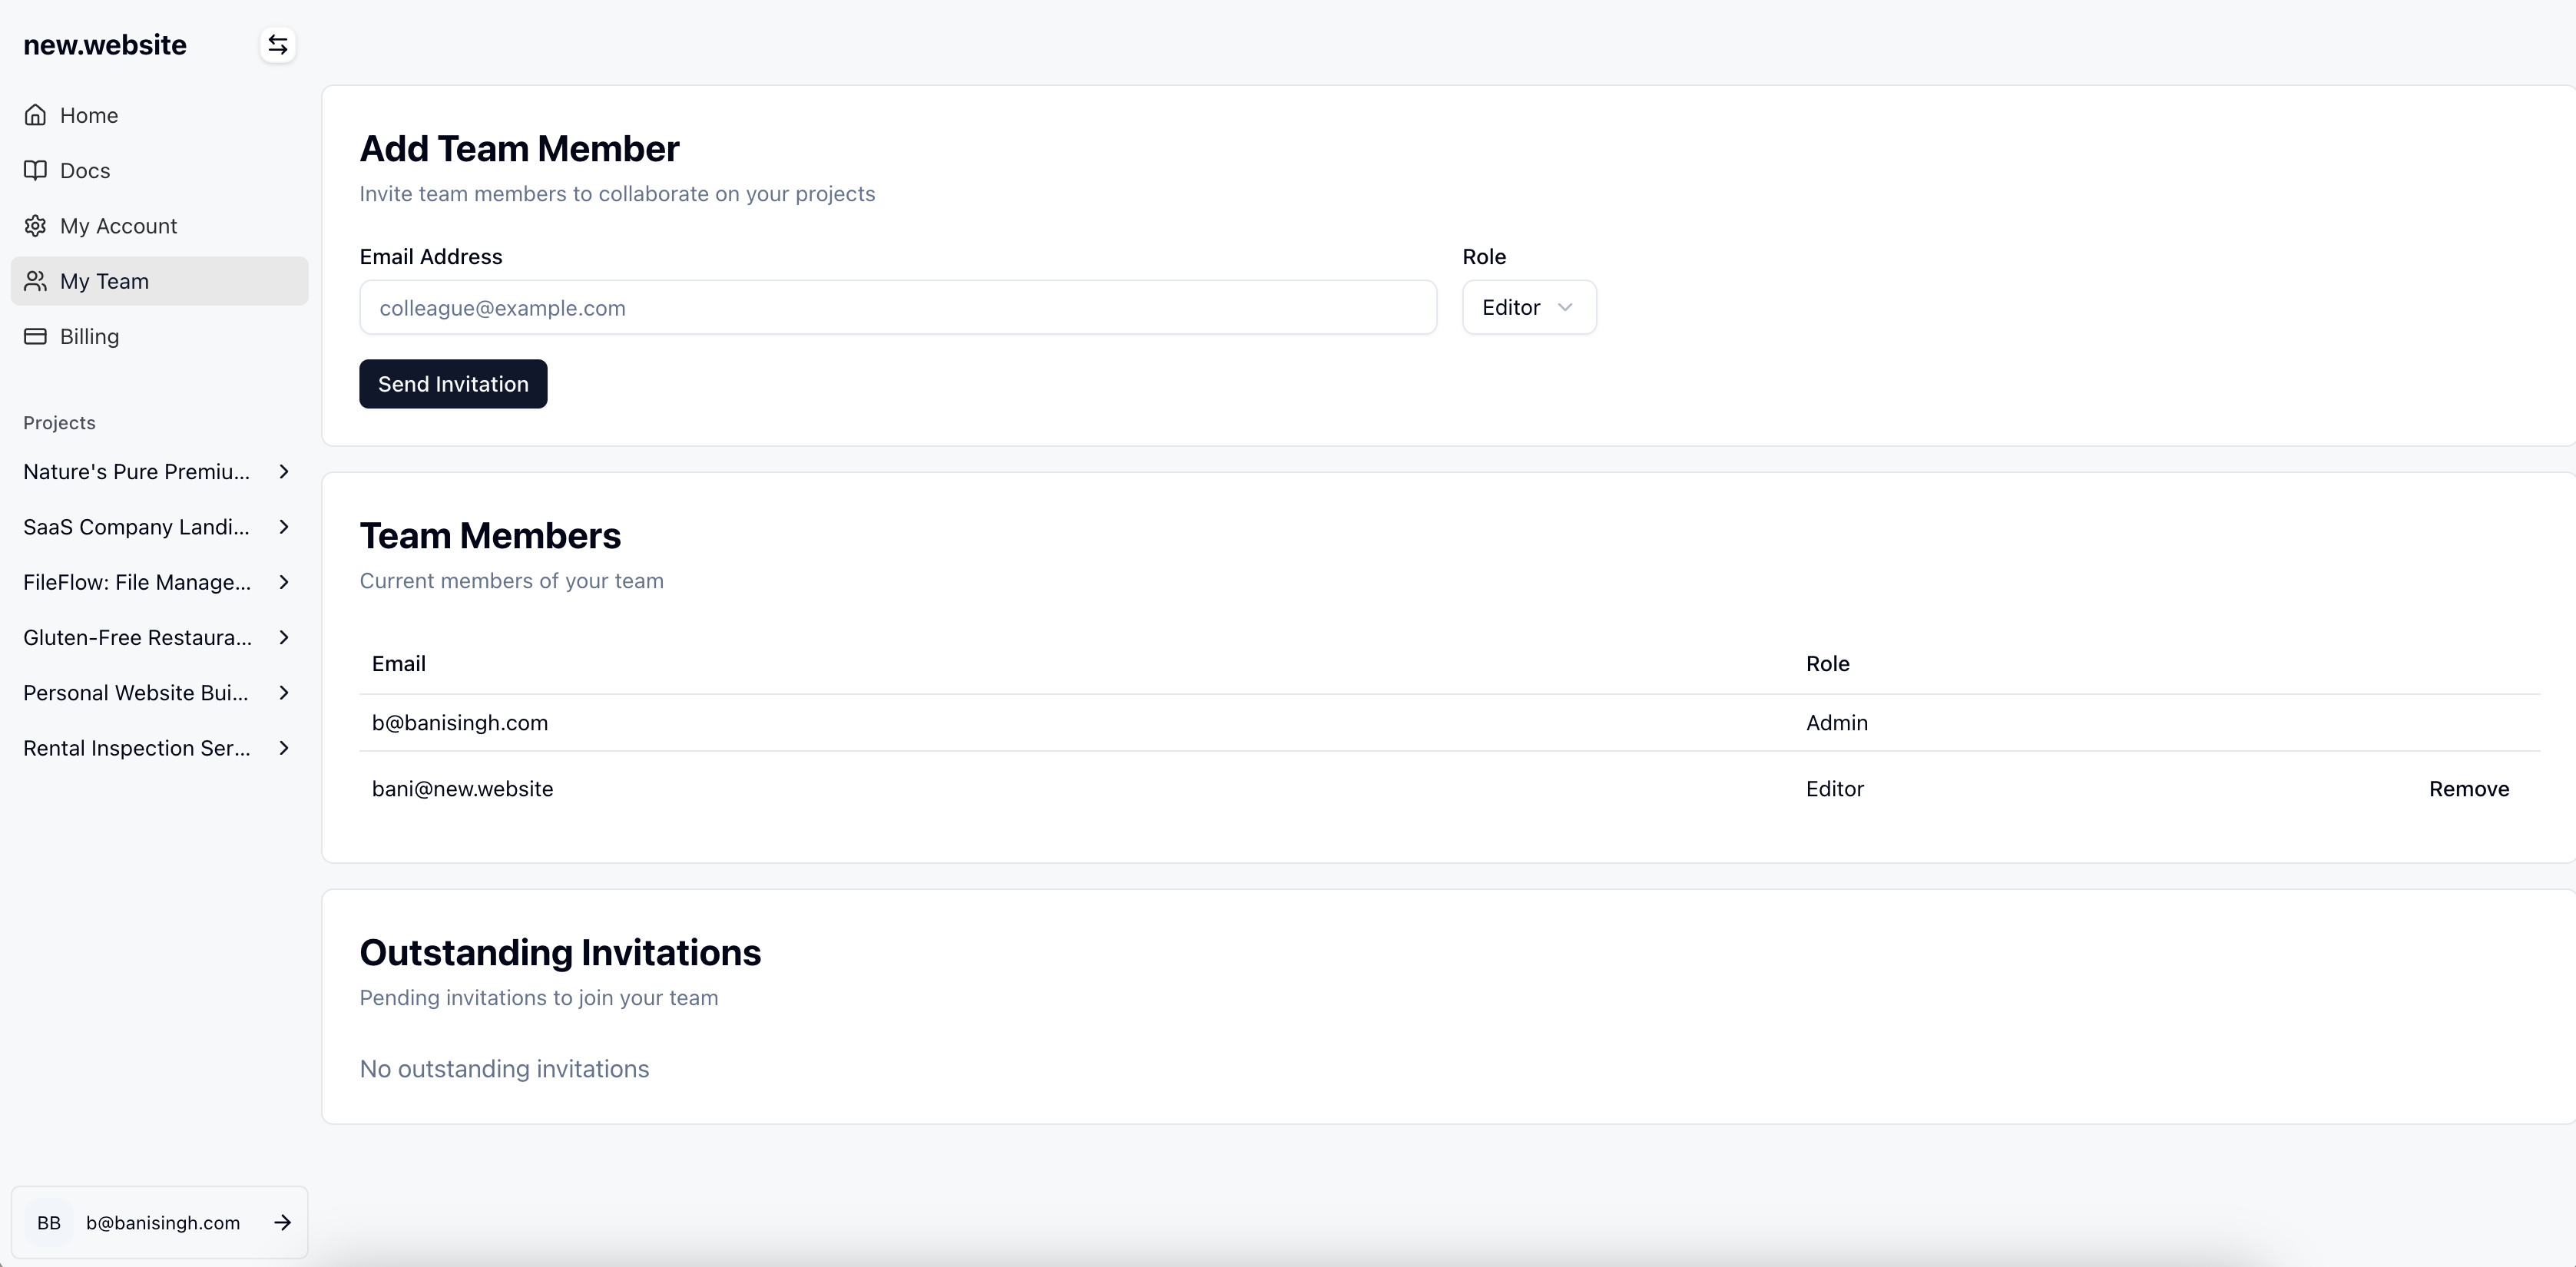 ## How to Manage Your Team
1. Navigate to your project dashboard
2. Click on **"My Team"** in the left sidebar
3. This will take you to the team management page where you can see current members and invite new ones
## How to Manage Your Team
1. Navigate to your project dashboard
2. Click on **"My Team"** in the left sidebar
3. This will take you to the team management page where you can see current members and invite new ones
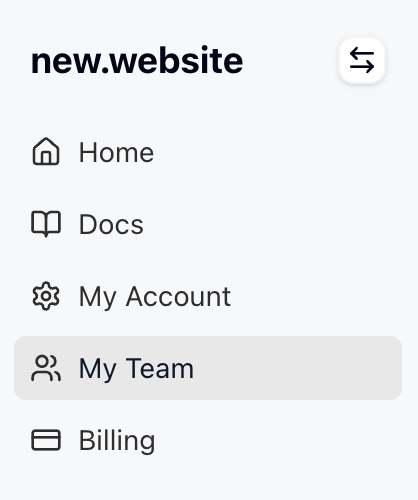 1. Click the **"Invite User"** button on the team page
2. Enter the email address of the person you want to invite
3. Select their role:
* **Admin**: Full access to billing, team management, and editing
* **Editor**: Access to editing only, no billing or team management
4. Click **"Send Invitation"** to send the invite
1. Click the **"Invite User"** button on the team page
2. Enter the email address of the person you want to invite
3. Select their role:
* **Admin**: Full access to billing, team management, and editing
* **Editor**: Access to editing only, no billing or team management
4. Click **"Send Invitation"** to send the invite
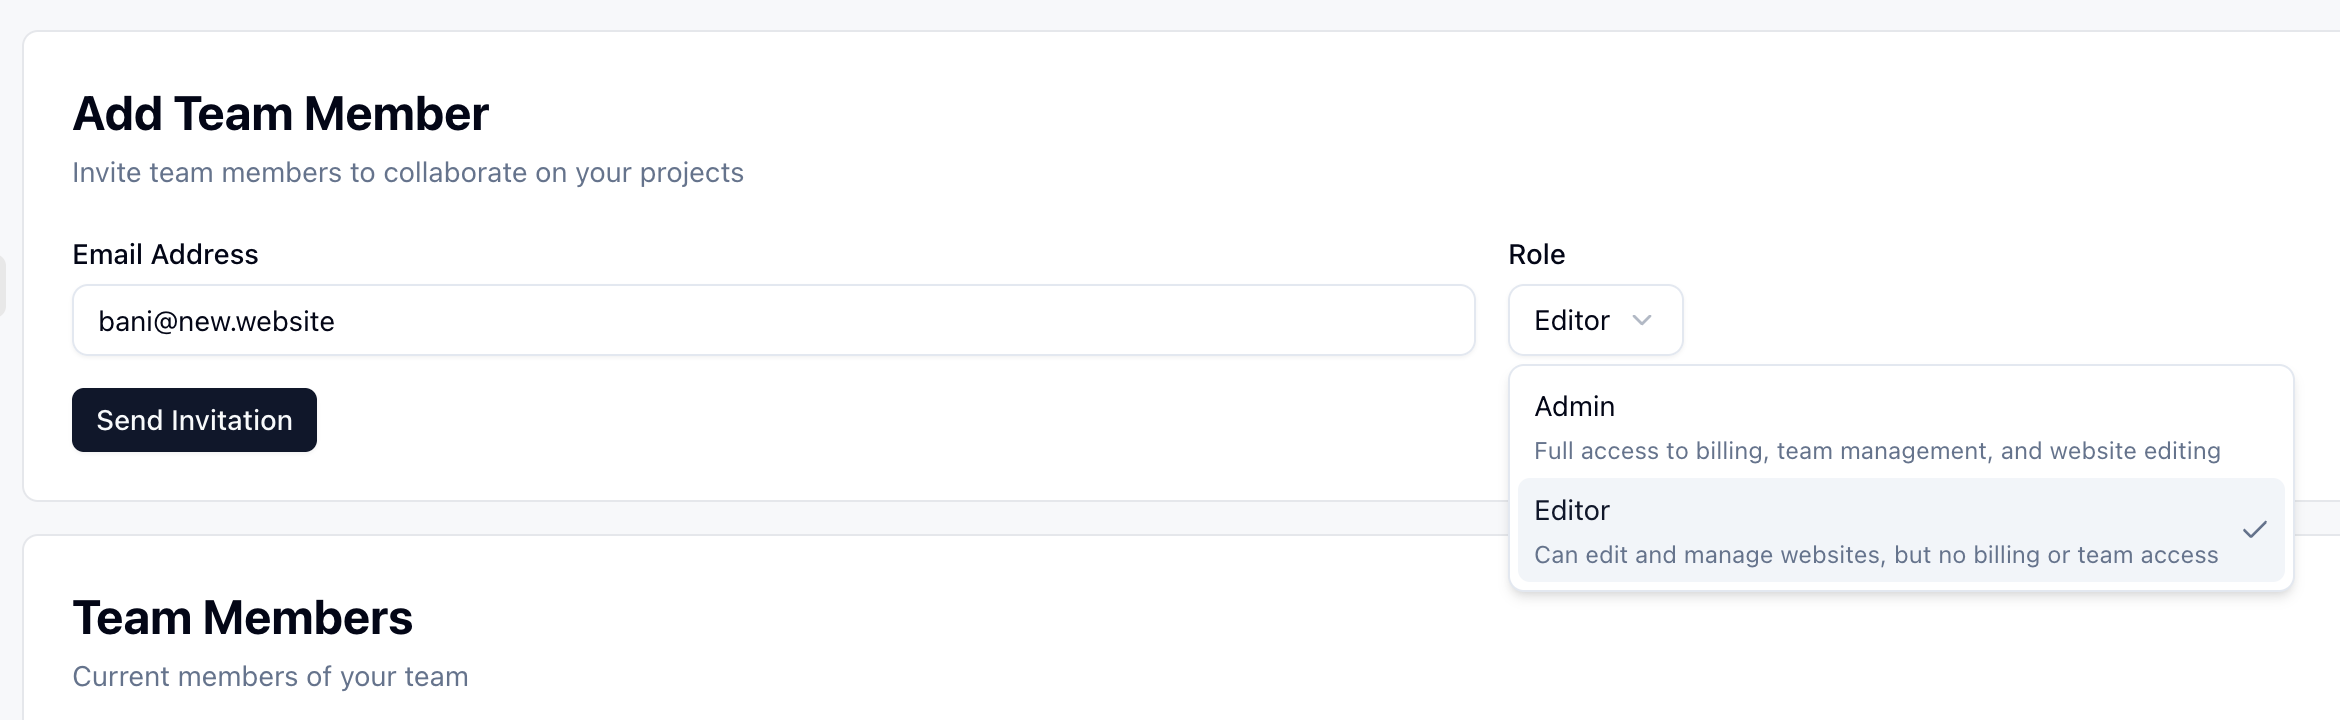 1. After sending an invitation, you'll see it listed as "Pending" in the team members section
2. The invited user's email will show with a "Pending" status
3. You can resend or cancel invitations if needed
1. After sending an invitation, you'll see it listed as "Pending" in the team members section
2. The invited user's email will show with a "Pending" status
3. You can resend or cancel invitations if needed
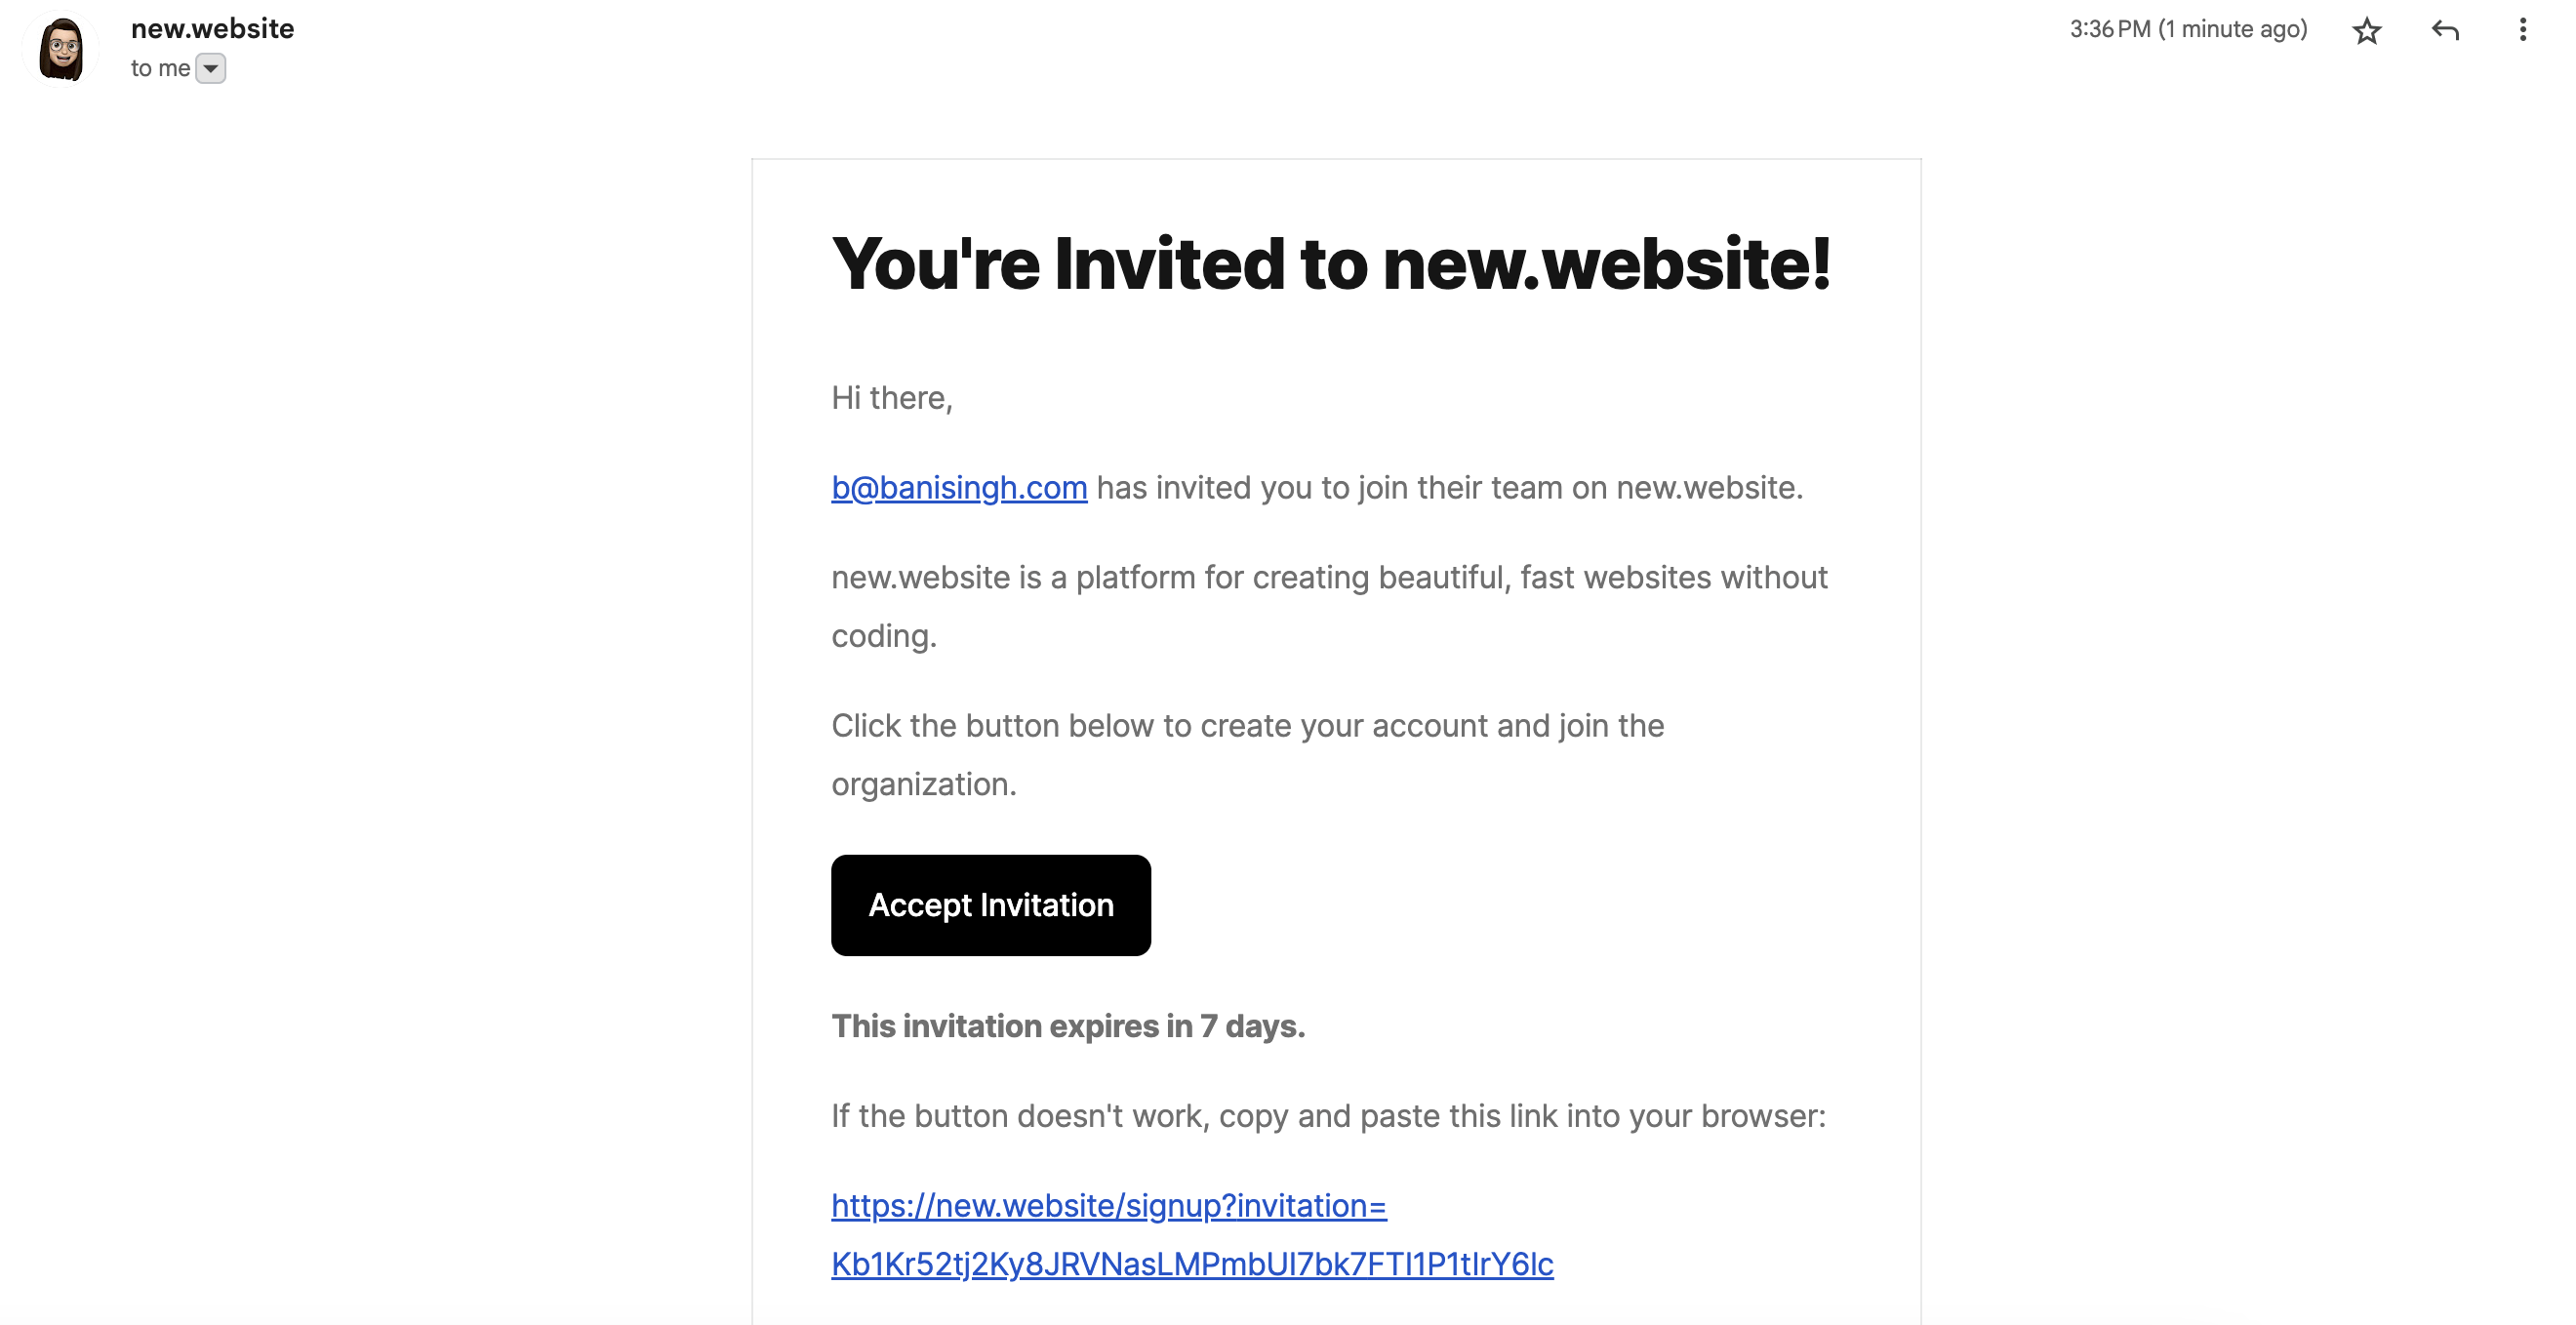
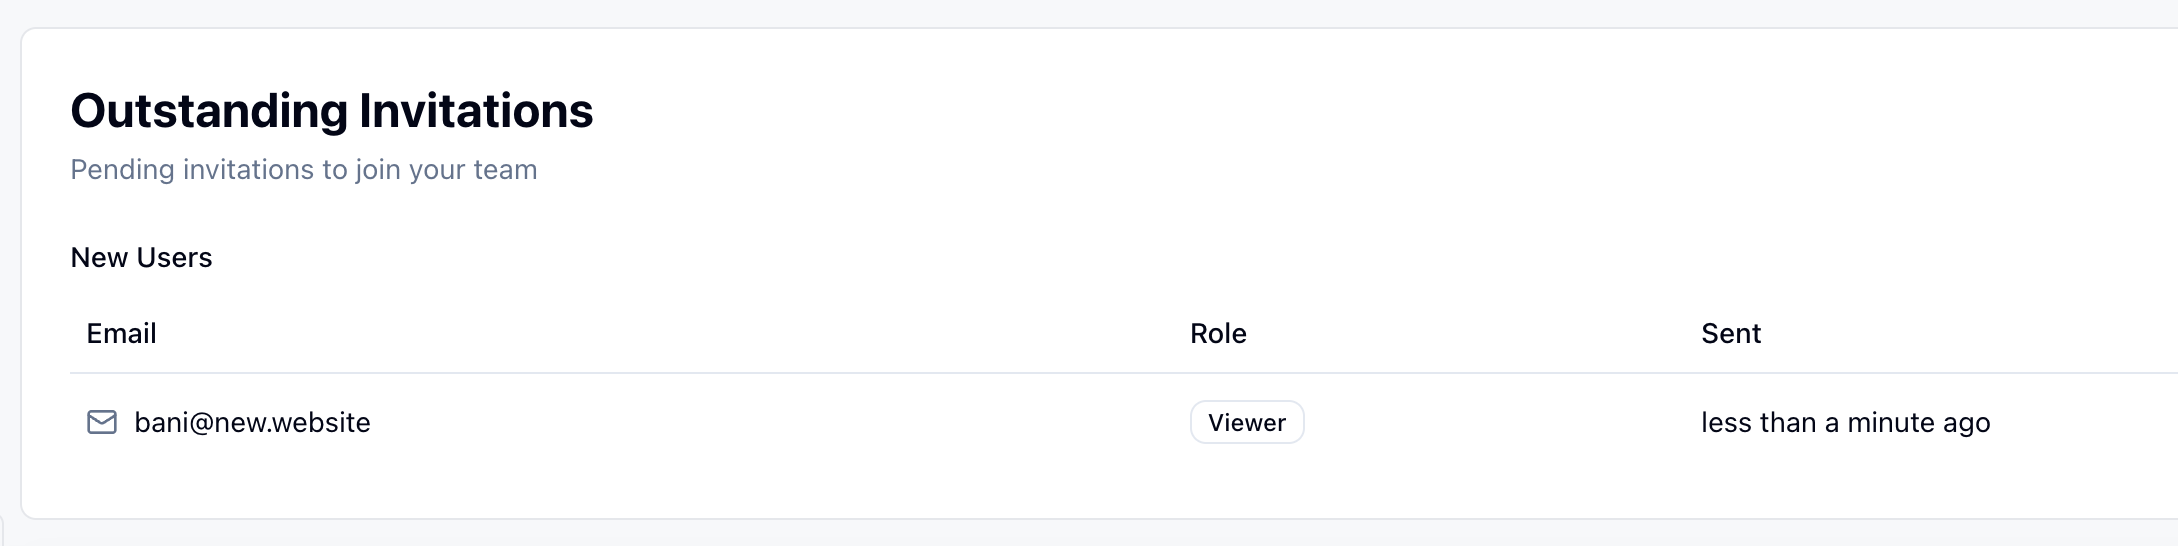 1. The invited user will receive an email invitation
2. The email contains a link to accept the invitation
3. They must click the link to join your team
1. The invited user will receive an email invitation
2. The email contains a link to accept the invitation
3. They must click the link to join your team
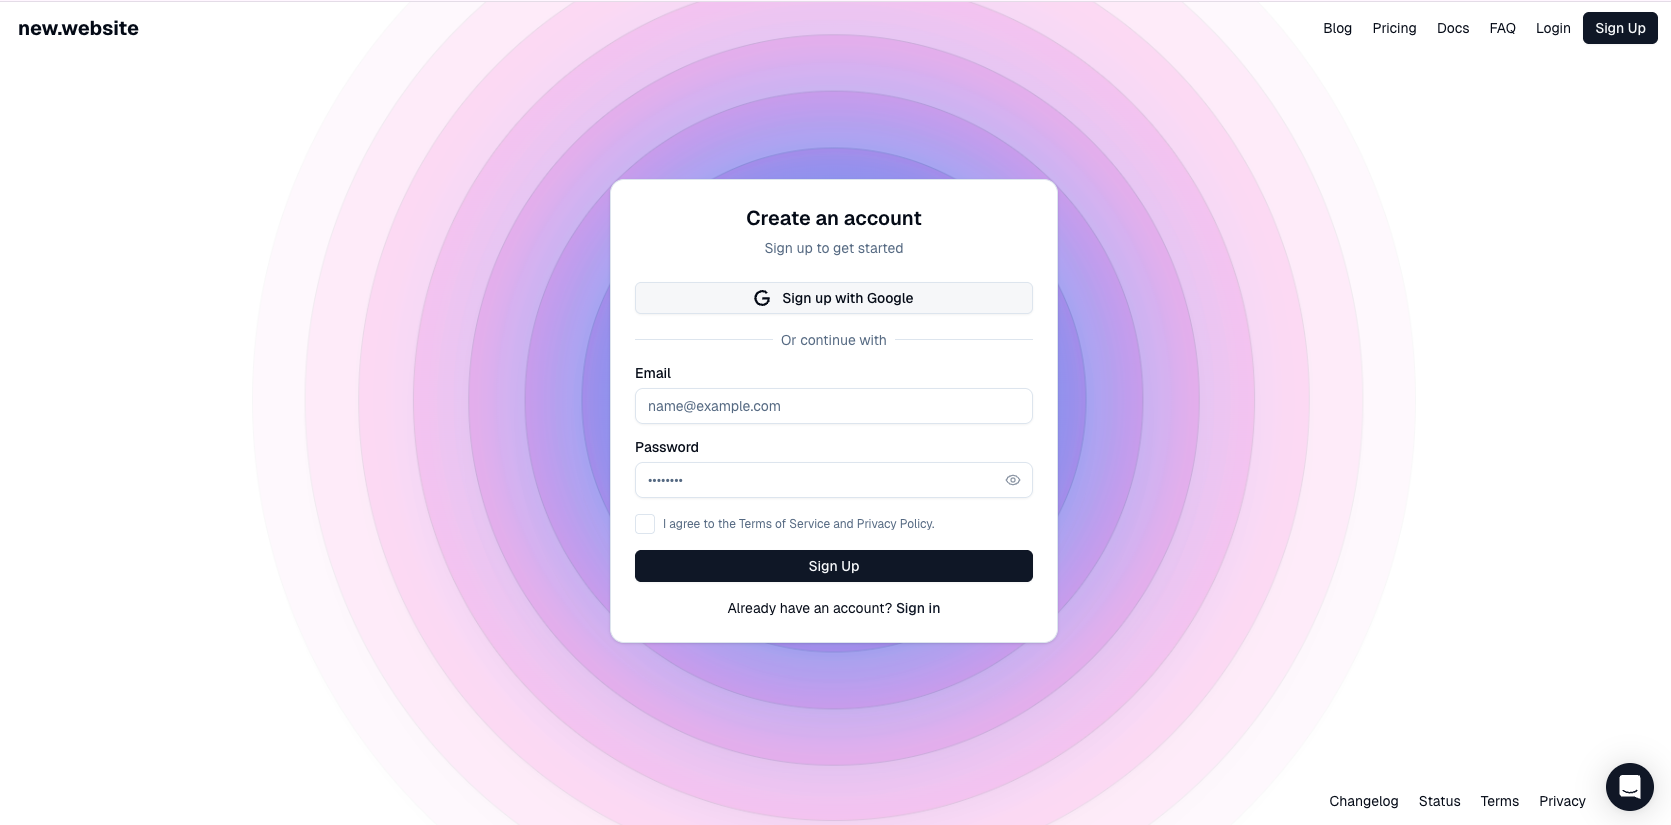
 1. When the invited user clicks the email link, they'll be directed to sign up
2. They need to create an account if they don't have one
3. If they already have an account, they'll be logged in and added to the team
1. When the invited user clicks the email link, they'll be directed to sign up
2. They need to create an account if they don't have one
3. If they already have an account, they'll be logged in and added to the team
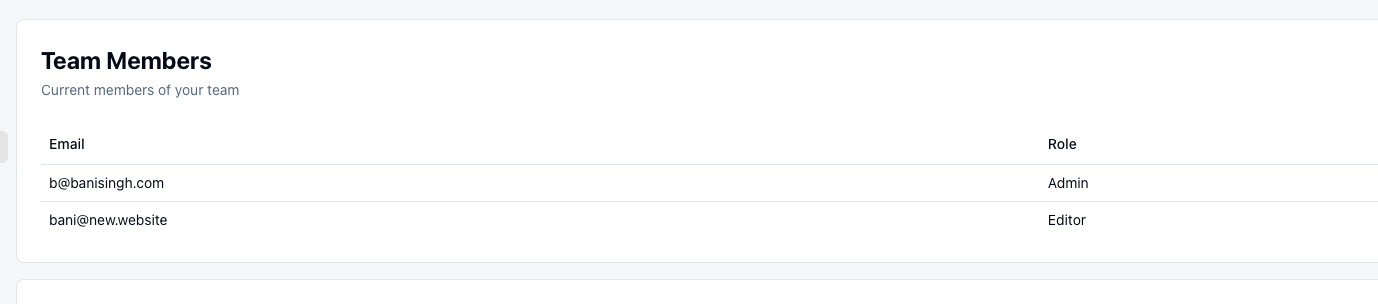
 1. Once the user completes registration, they'll appear as an active team member
2. The team page will now show both email addresses with their respective roles
3. Team members can now collaborate based on their assigned permissions
1. Once the user completes registration, they'll appear as an active team member
2. The team page will now show both email addresses with their respective roles
3. Team members can now collaborate based on their assigned permissions
 ## Team Roles and Permissions
### Admin Role
* **Full billing access**: Can view and manage billing, subscriptions, and payments
* **Team management**: Can invite new members, remove members, and change roles
* **Full editing access**: Can edit website content, settings, and all features
### Editor Role
* **Editing access only**: Can edit website content and use all editing features
* **No billing access**: Cannot view or manage billing information
* **No team management**: Cannot invite, remove, or manage other team members
## Team Management Features
### Invitation Management
* Send invitations to team members via email
* Track pending invitations and their status
* Resend invitations if needed
* Cancel pending invitations
### Role-Based Access Control
* Assign appropriate roles based on team member responsibilities
* Change roles as needed (admins can modify other members' roles)
* Ensure sensitive billing information is only accessible to admins
### Team Collaboration
* Multiple team members can work on the same project
* Real-time collaboration on website editing
* Secure access control for different team functions
## Best Practices
Give team members the minimum access they need to do their job effectively.
Periodically review team member access and remove users who no longer need access.
Only assign admin roles to team members who need billing and team management access.
Communicate role expectations and access limitations clearly to new team members.
Team management is only available on the Pro plan (\$100/month).
## Troubleshooting
### Invitation Not Received
* Check the spam/junk folder in the recipient's email
* Verify the email address was entered correctly
* Resend the invitation if needed
* Contact support if the issue persists
### User Can't Accept Invitation
* Ensure the invitation link hasn't expired
* Try resending the invitation
* Check if the user already has an account with a different email
* Contact support for assistance
### Role Permissions Not Working
* Verify the user's role is set correctly in the team management page
* Log out and log back in to refresh permissions
* Contact support if permissions aren't applying correctly
## Frequently Asked Questions
Yes, admins can change team member roles at any time from the team management page. The changes take effect immediately.
Yes, each team member needs their own new\.website account. They can use the invitation link to create an account if they don't have one.
No, only admins can invite new team members, remove existing members, or change roles. Editors have access only to content editing features.
There's no specific limit to pending invitations, but they count toward your overall team member limit once accepted.
Project ownership transfer is available for paid plans. Contact support to initiate an ownership transfer to another admin team member.
## Team Roles and Permissions
### Admin Role
* **Full billing access**: Can view and manage billing, subscriptions, and payments
* **Team management**: Can invite new members, remove members, and change roles
* **Full editing access**: Can edit website content, settings, and all features
### Editor Role
* **Editing access only**: Can edit website content and use all editing features
* **No billing access**: Cannot view or manage billing information
* **No team management**: Cannot invite, remove, or manage other team members
## Team Management Features
### Invitation Management
* Send invitations to team members via email
* Track pending invitations and their status
* Resend invitations if needed
* Cancel pending invitations
### Role-Based Access Control
* Assign appropriate roles based on team member responsibilities
* Change roles as needed (admins can modify other members' roles)
* Ensure sensitive billing information is only accessible to admins
### Team Collaboration
* Multiple team members can work on the same project
* Real-time collaboration on website editing
* Secure access control for different team functions
## Best Practices
Give team members the minimum access they need to do their job effectively.
Periodically review team member access and remove users who no longer need access.
Only assign admin roles to team members who need billing and team management access.
Communicate role expectations and access limitations clearly to new team members.
Team management is only available on the Pro plan (\$100/month).
## Troubleshooting
### Invitation Not Received
* Check the spam/junk folder in the recipient's email
* Verify the email address was entered correctly
* Resend the invitation if needed
* Contact support if the issue persists
### User Can't Accept Invitation
* Ensure the invitation link hasn't expired
* Try resending the invitation
* Check if the user already has an account with a different email
* Contact support for assistance
### Role Permissions Not Working
* Verify the user's role is set correctly in the team management page
* Log out and log back in to refresh permissions
* Contact support if permissions aren't applying correctly
## Frequently Asked Questions
Yes, admins can change team member roles at any time from the team management page. The changes take effect immediately.
Yes, each team member needs their own new\.website account. They can use the invitation link to create an account if they don't have one.
No, only admins can invite new team members, remove existing members, or change roles. Editors have access only to content editing features.
There's no specific limit to pending invitations, but they count toward your overall team member limit once accepted.
Project ownership transfer is available for paid plans. Contact support to initiate an ownership transfer to another admin team member.