> ## Documentation Index
> Fetch the complete documentation index at: https://newwebsite.mintlify.site/llms.txt
> Use this file to discover all available pages before exploring further.
# Zapier
> Do you want every form response to be sent to Slack? Or maybe an email? Any other automation? With Zapier, you can automate any action when someone submits your form.
Connect your new\.website forms and data to over 8,000 apps like Calendly, Slack, Gmail, Microsoft Teams, and more with Zapier automation. This guide will walk you through the entire process from start to finish.
You only need to connect Zapier ONCE per project, and then all future form responses will automatically be tracked and sent to your connected apps.
Follow these steps to connect your forms to Zapier:
Go to your project and navigate to Form Responses, then click "Connect with Zapier" button and then click on the Zapier app link at the bottom.
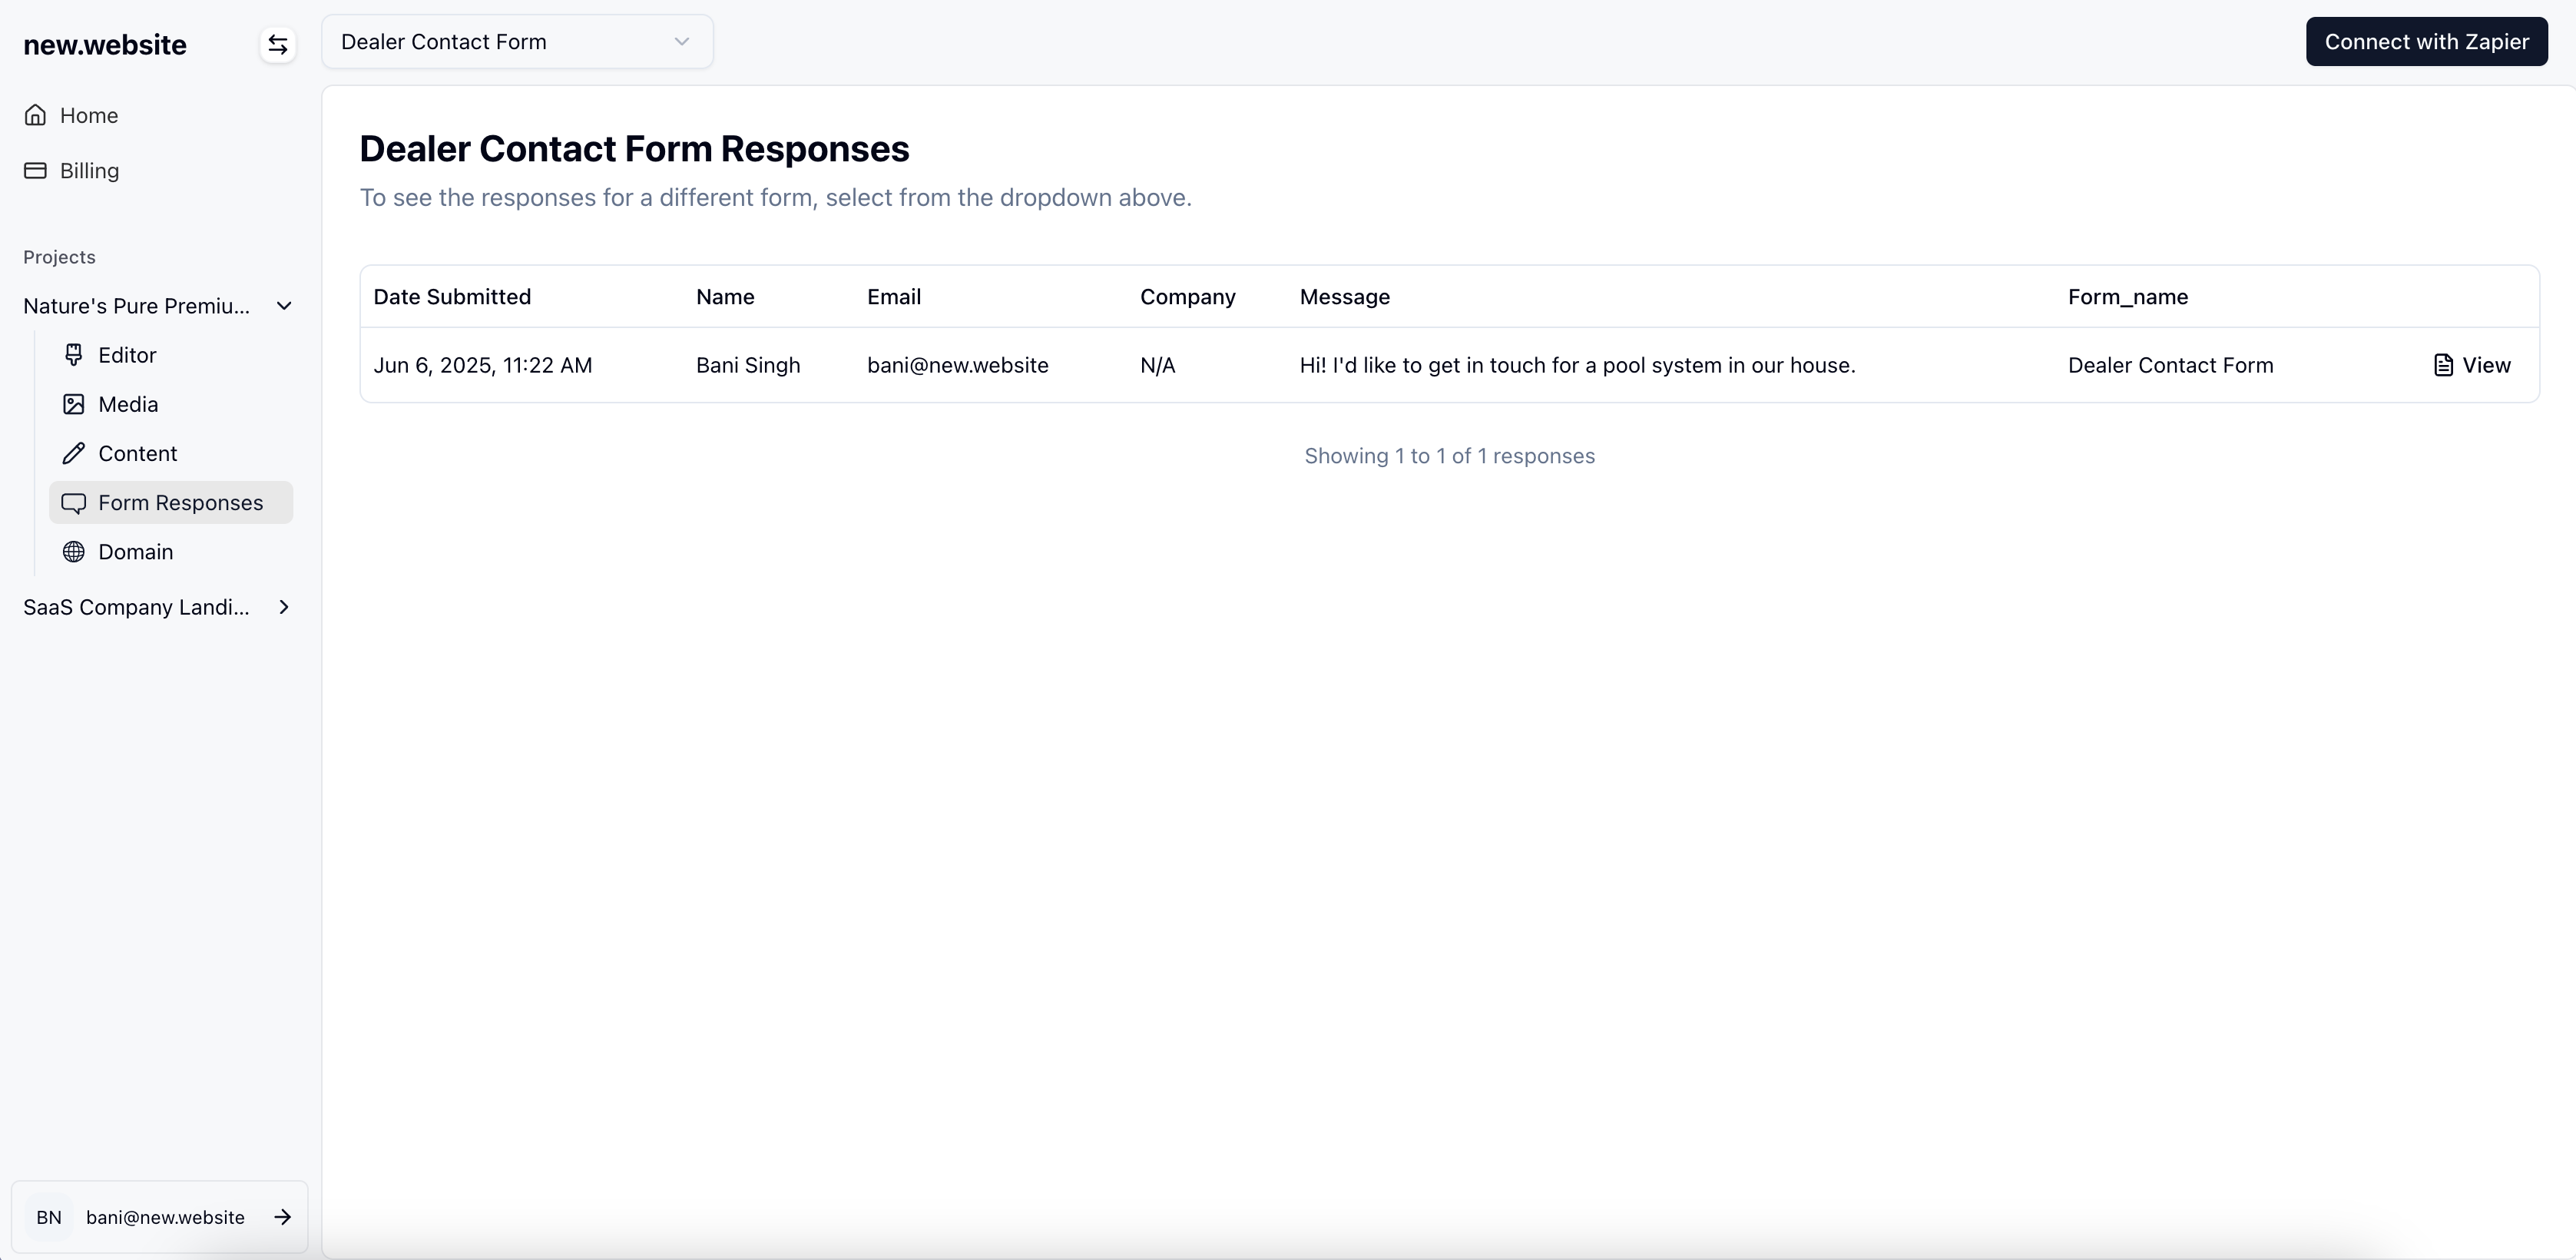
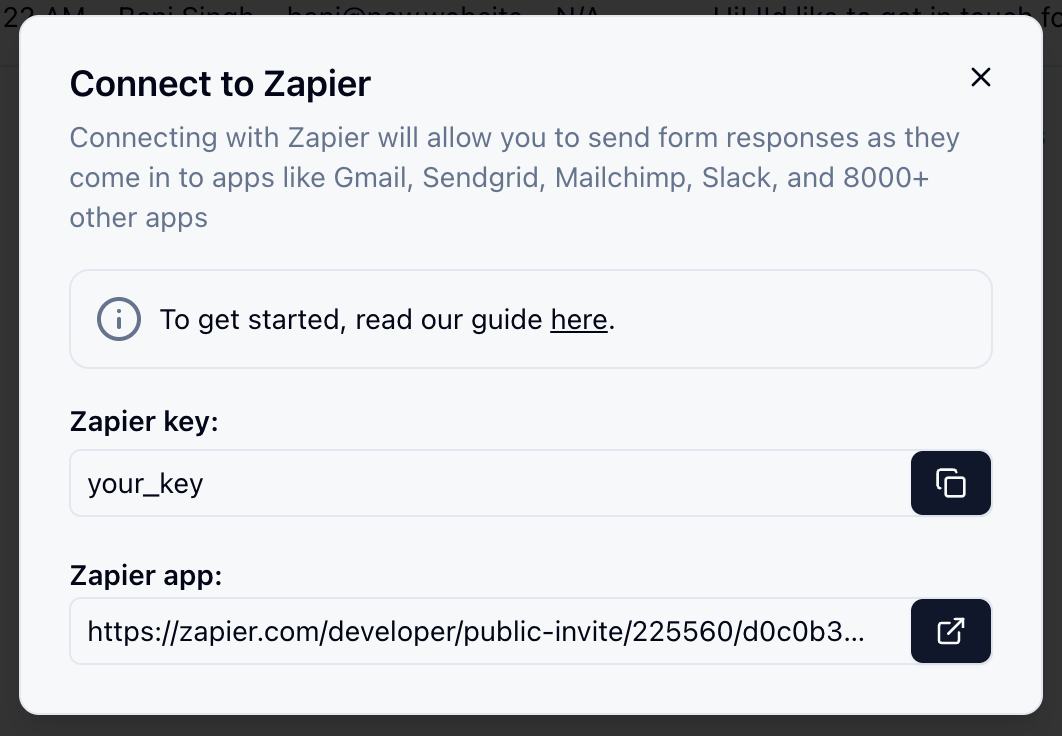 Accept the invite via Zapier to use new\.website.
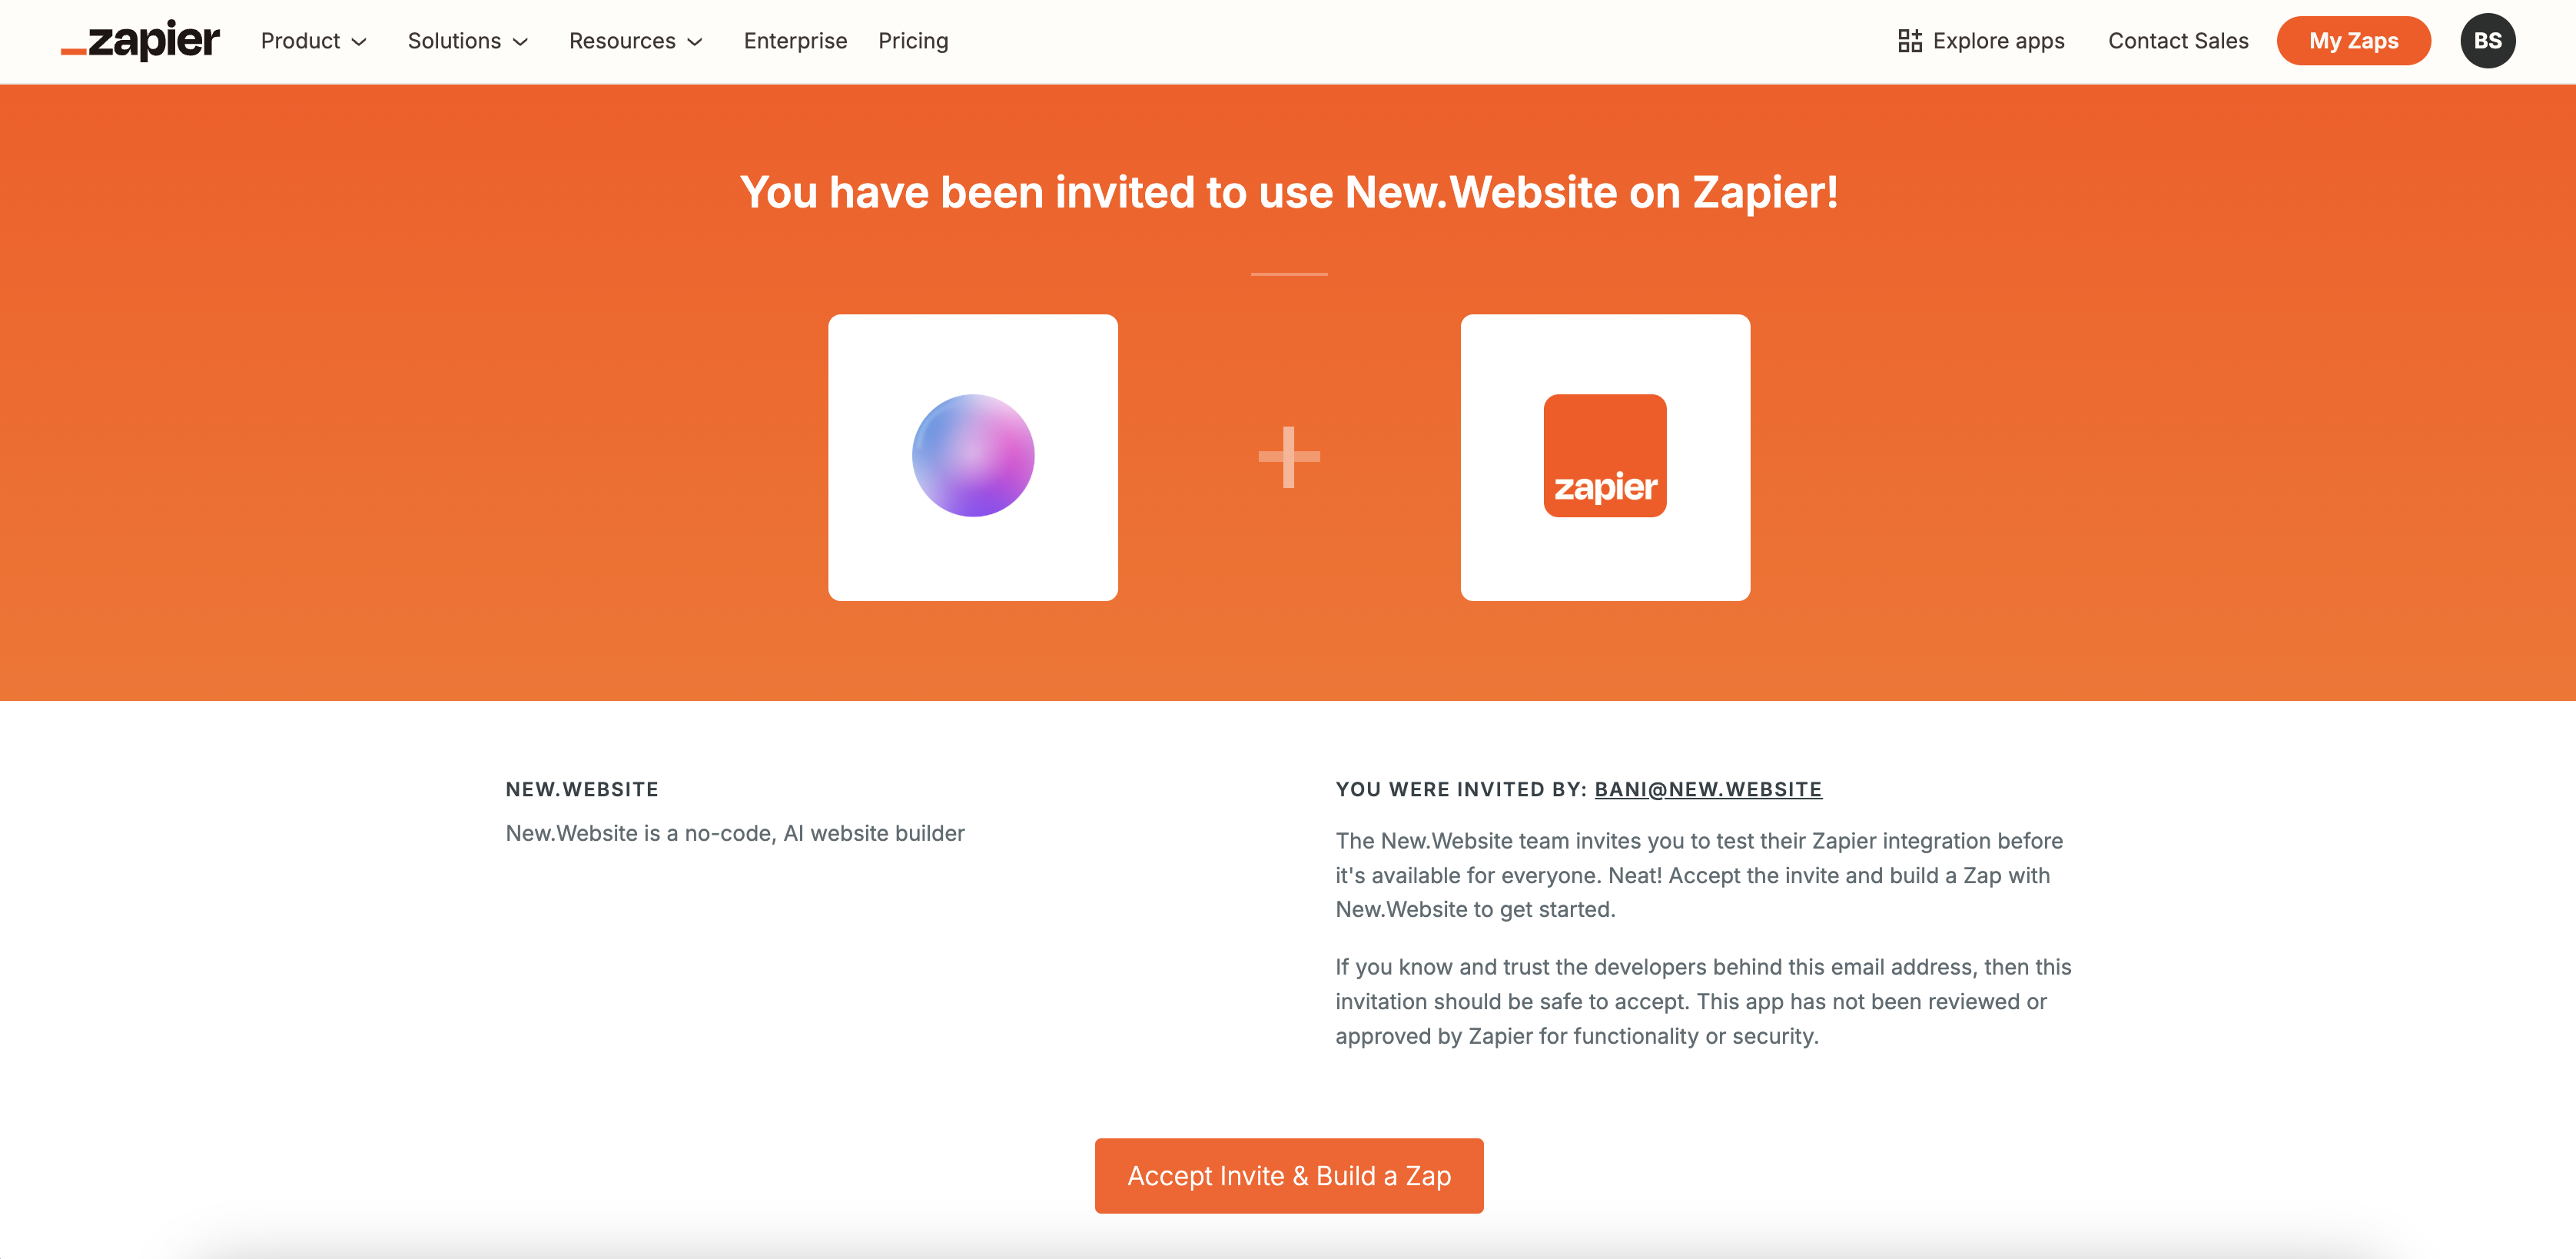 Click on "Create Zap" to start building your automation.
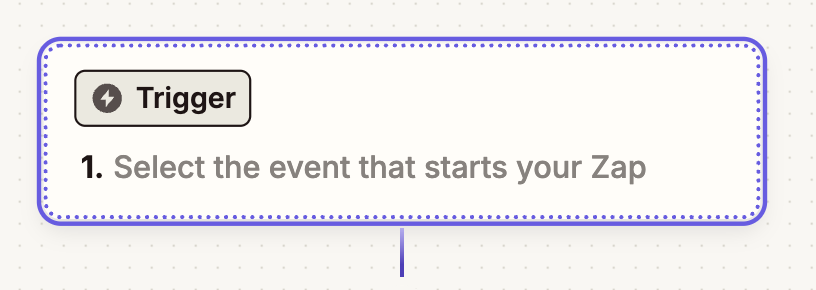
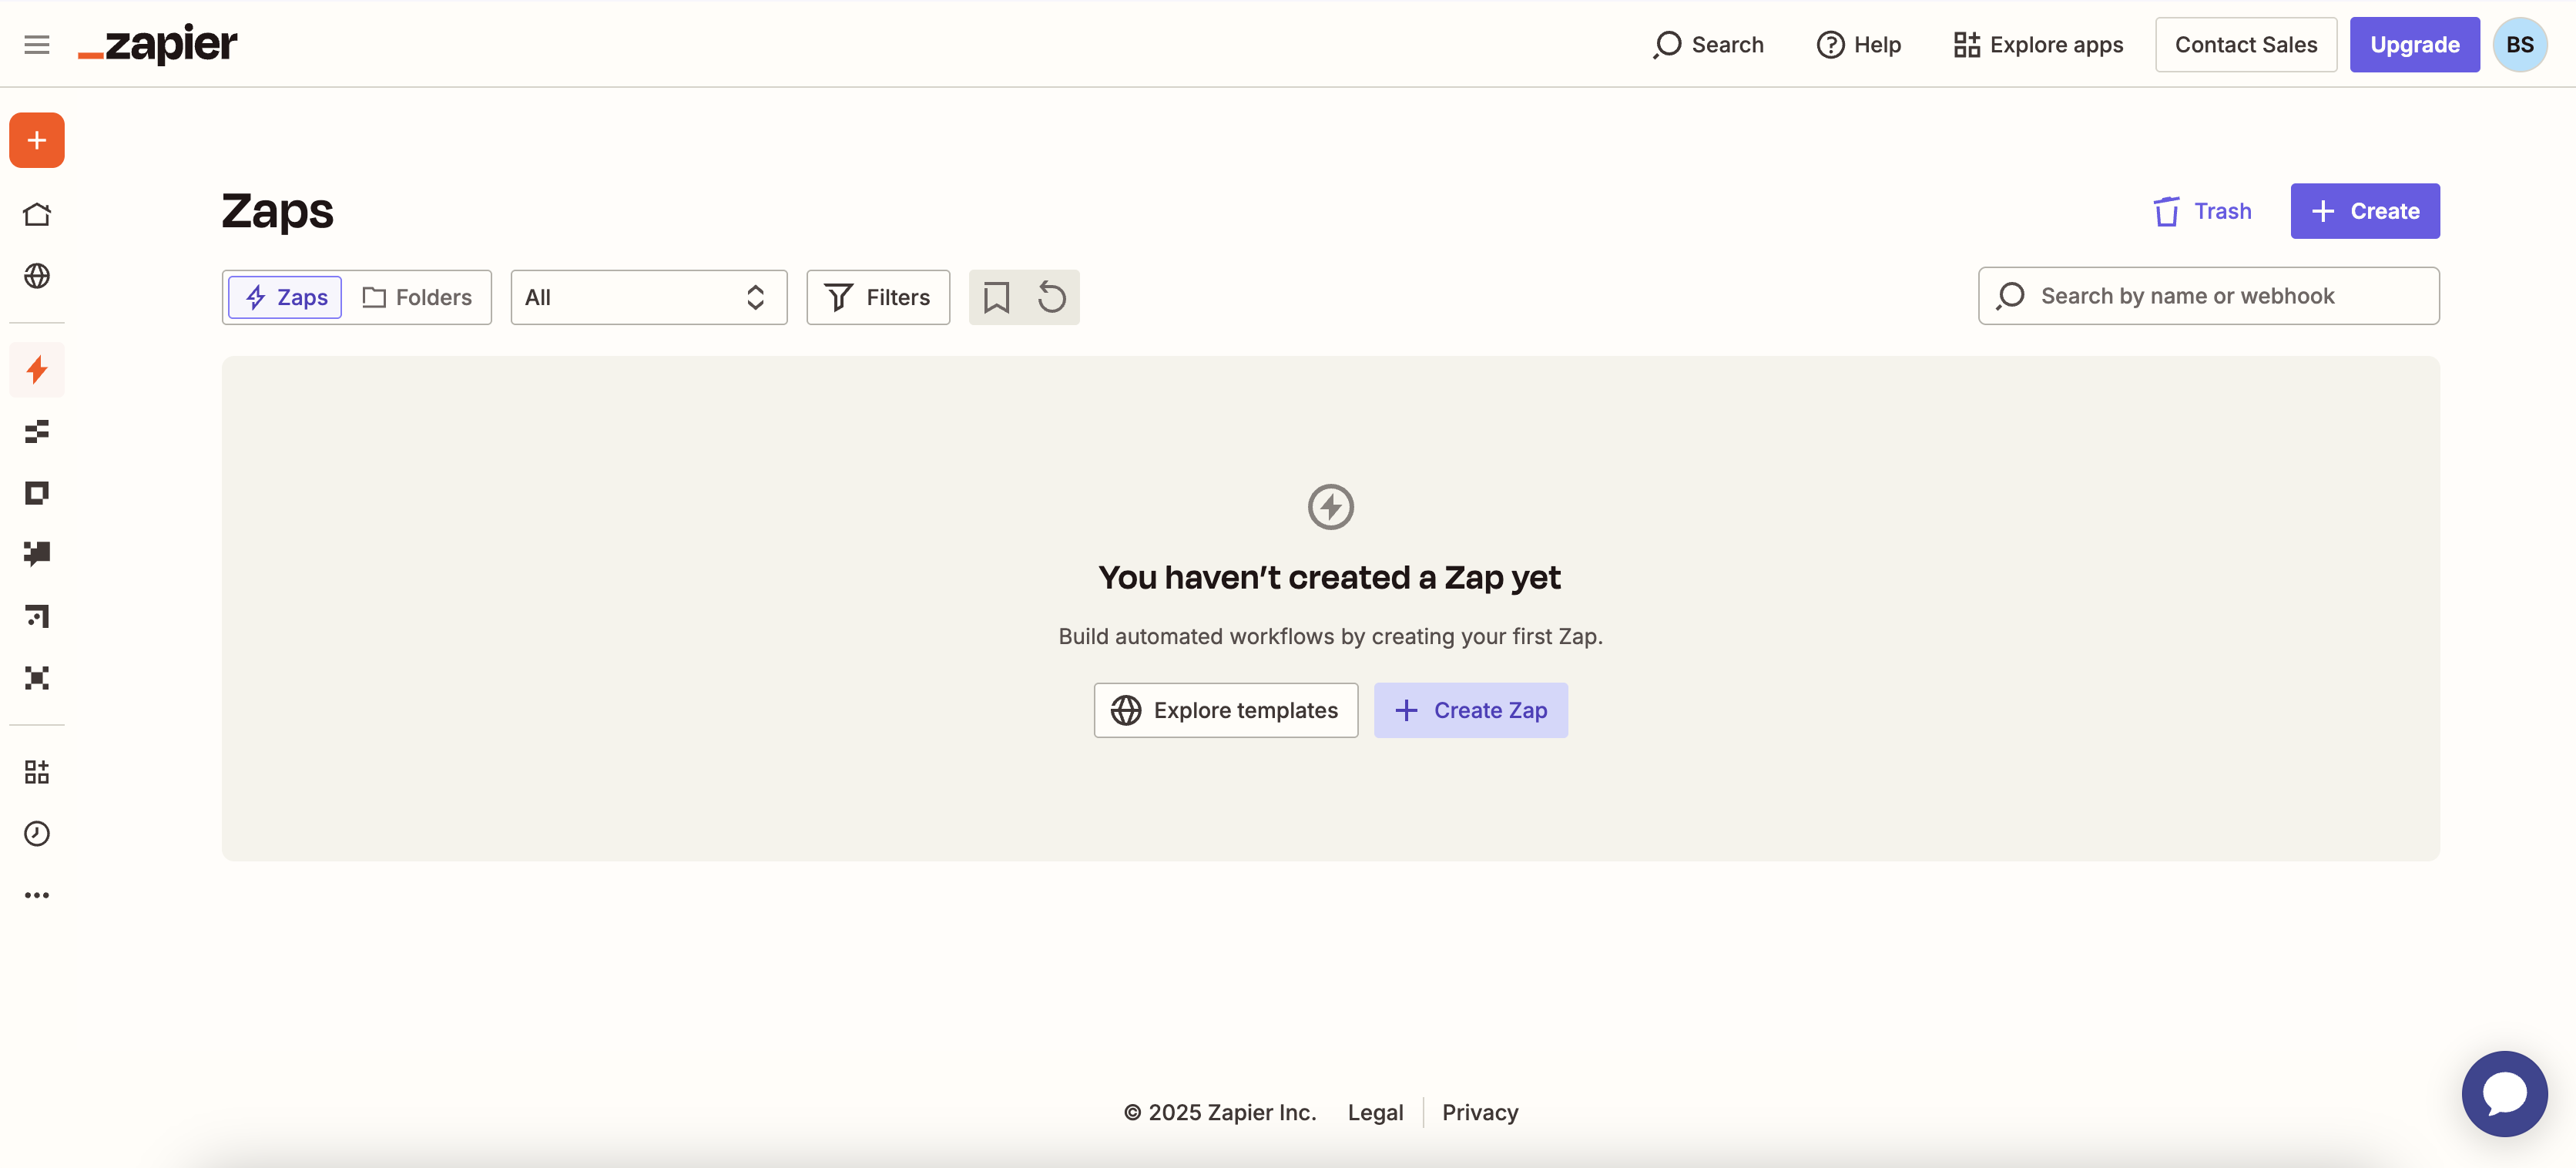 Click on "Trigger" to select the event that starts your Zap.
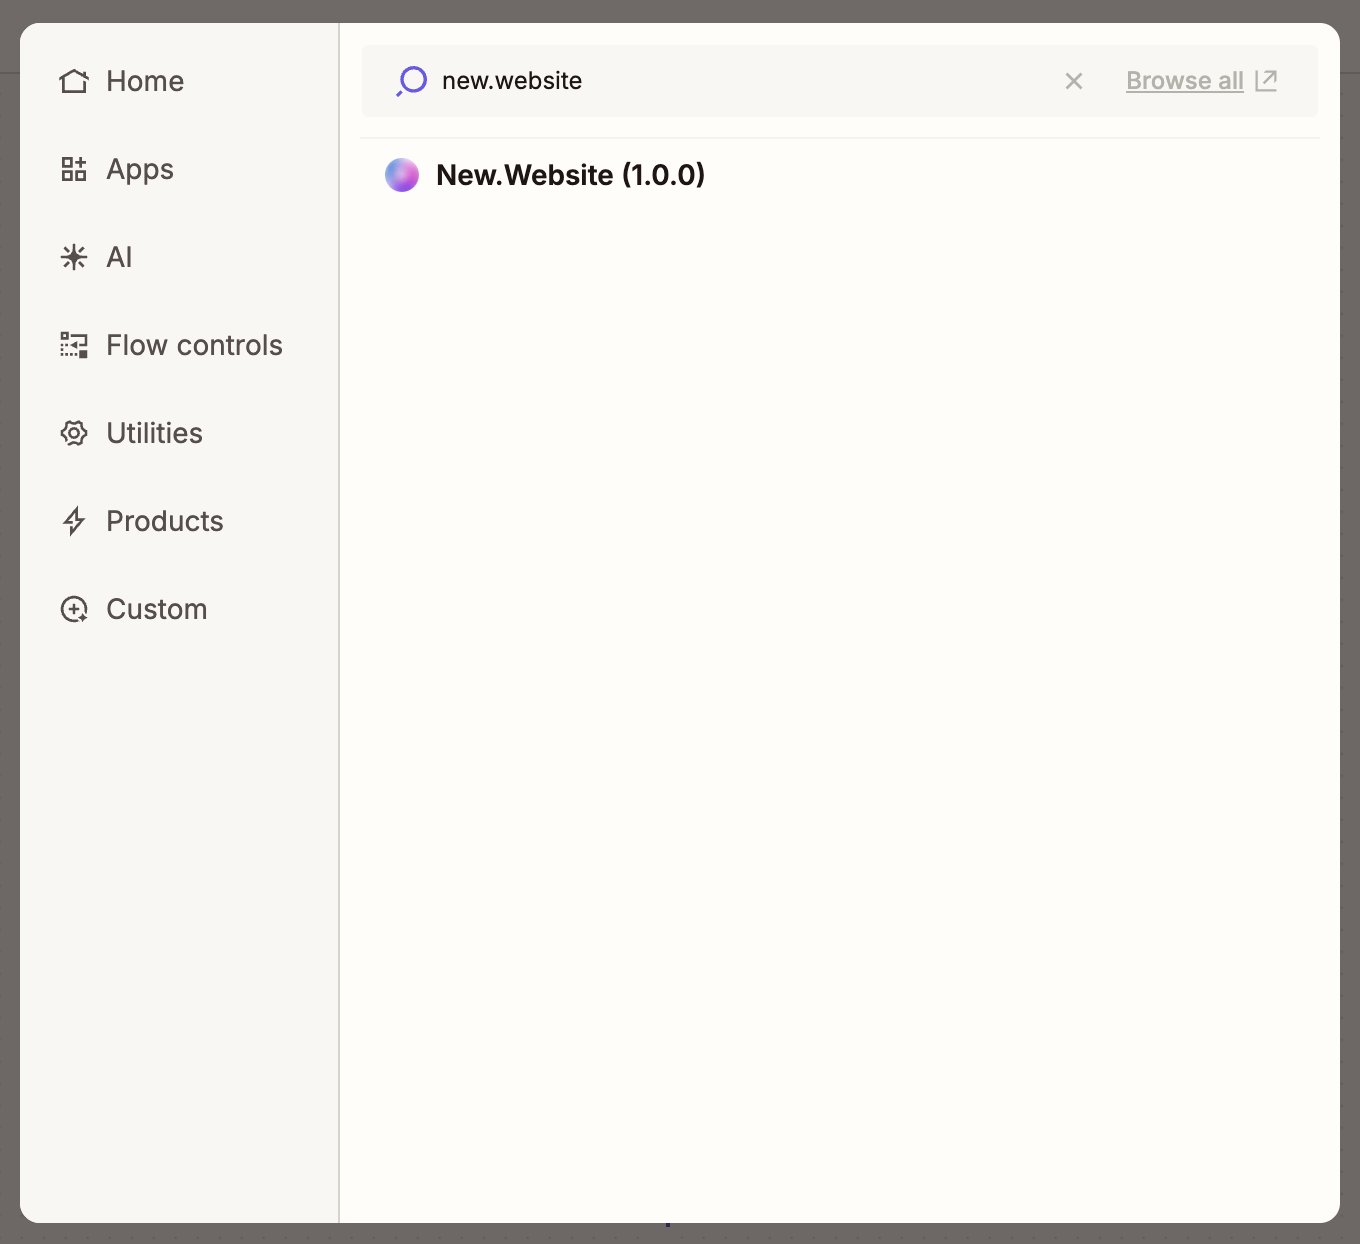
 Search for "new\.website" and click on it to select the app.
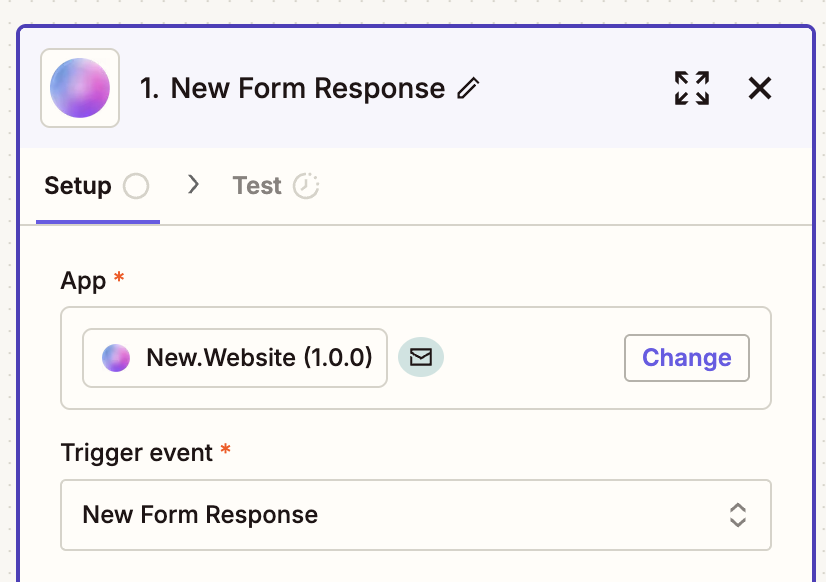
 Select "New Form Response" as your trigger event.
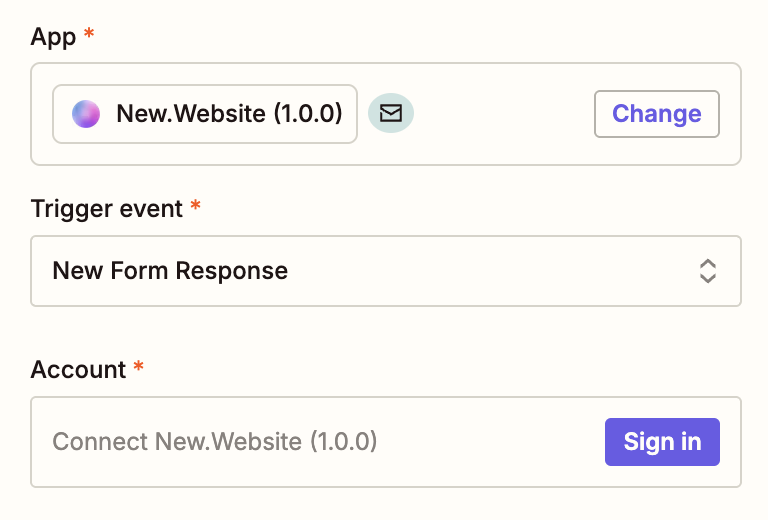
 **Step 7.1**: Sign In
Click "Sign in" to connect your new\.website account.
**Step 7.1**: Sign In
Click "Sign in" to connect your new\.website account.
 **Step 7.2**: Copy Your Zapier Key
Go back to your dashboard and copy your Zapier key.
**Step 7.2**: Copy Your Zapier Key
Go back to your dashboard and copy your Zapier key.
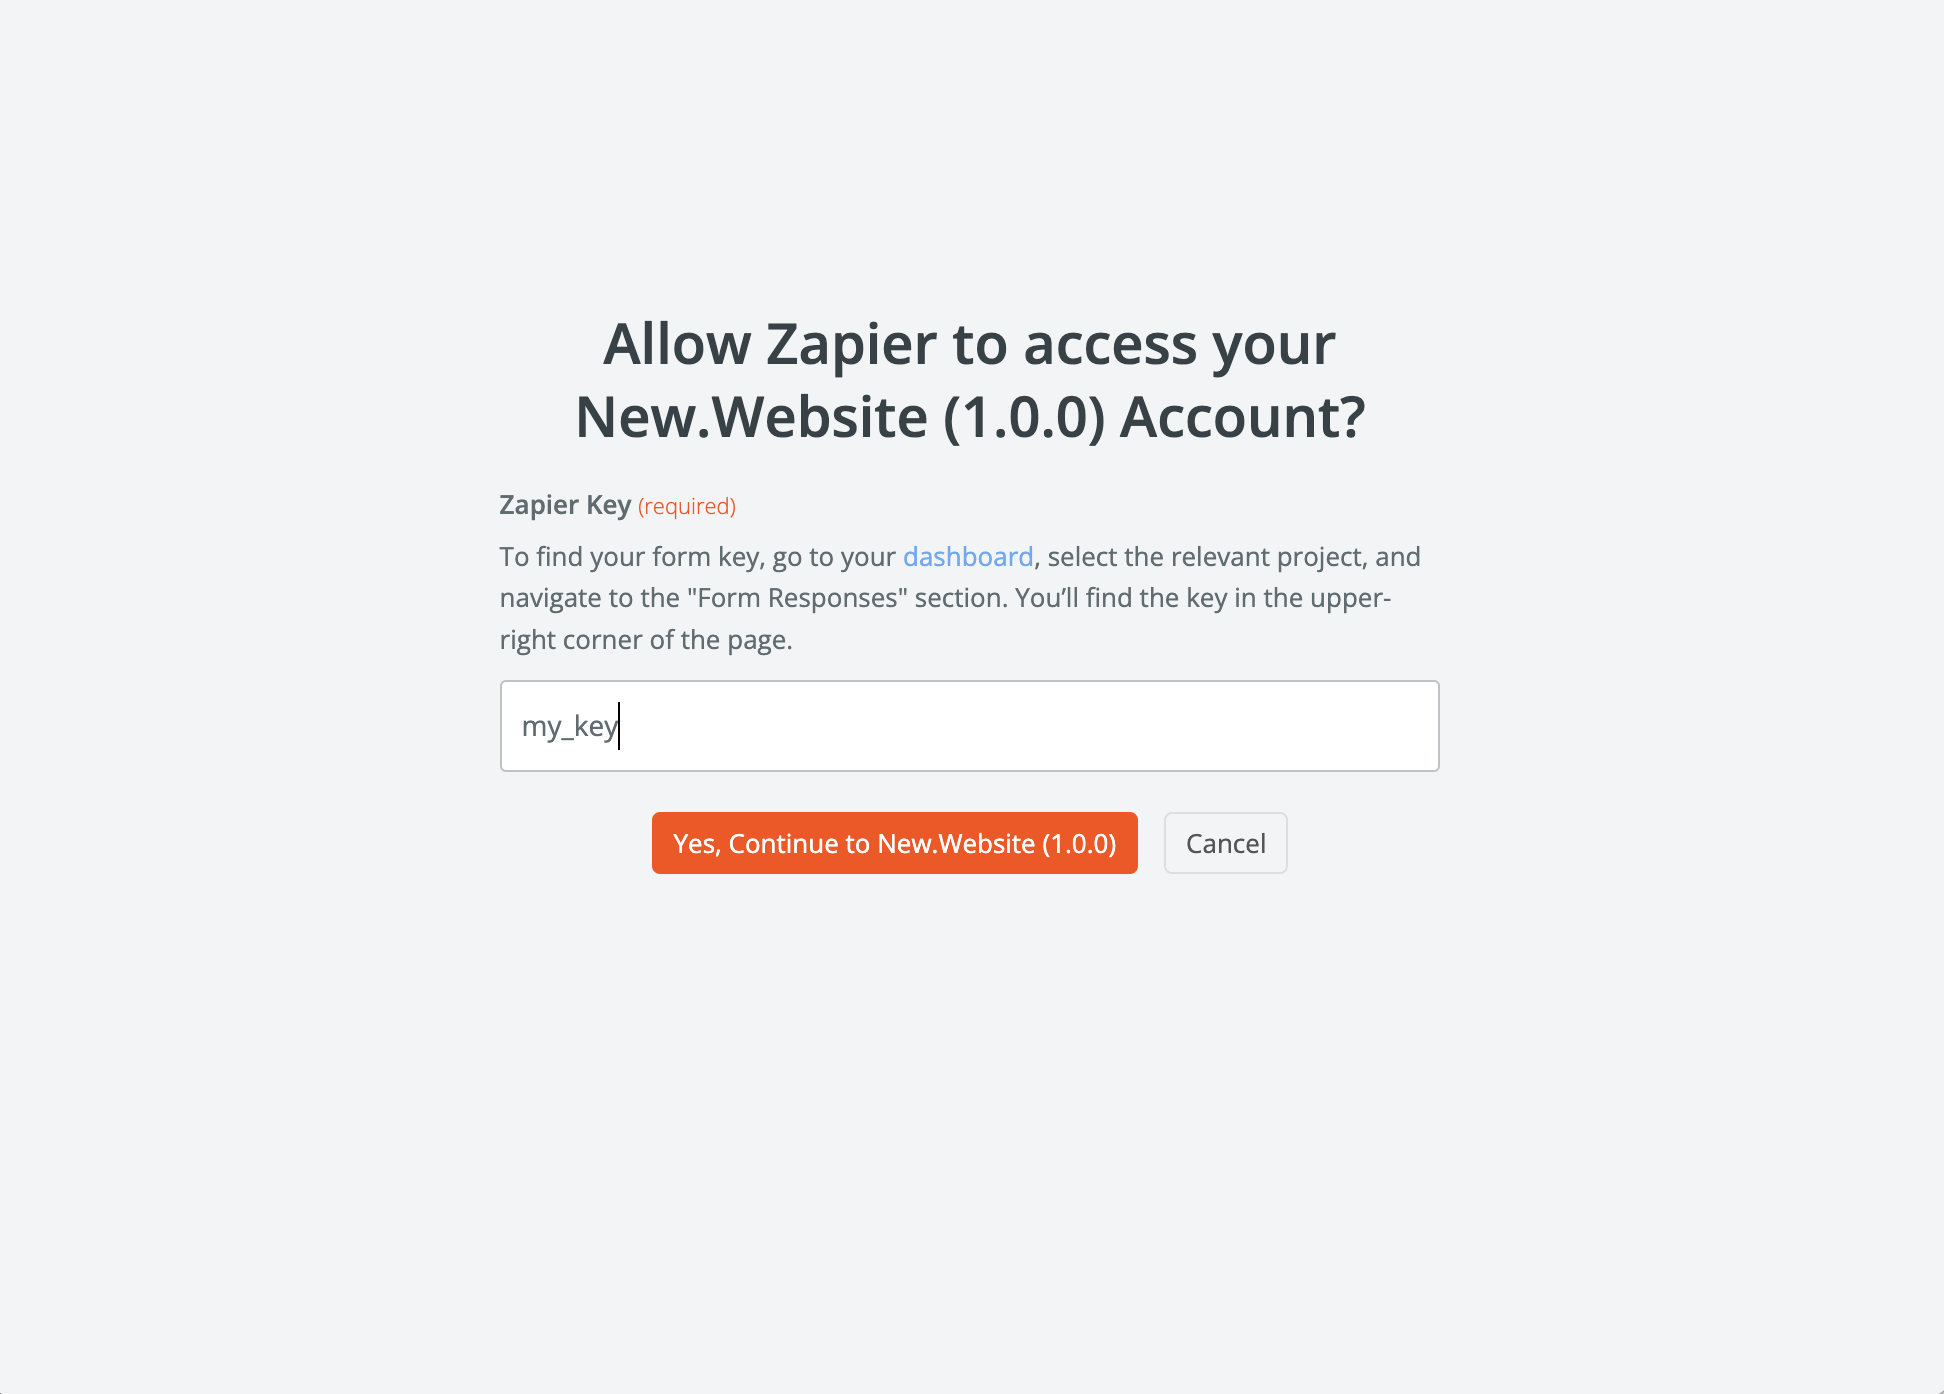
 **Step 7.3**: Enter Your Key
Add your copied key to complete the connection.
**Step 7.3**: Enter Your Key
Add your copied key to complete the connection.
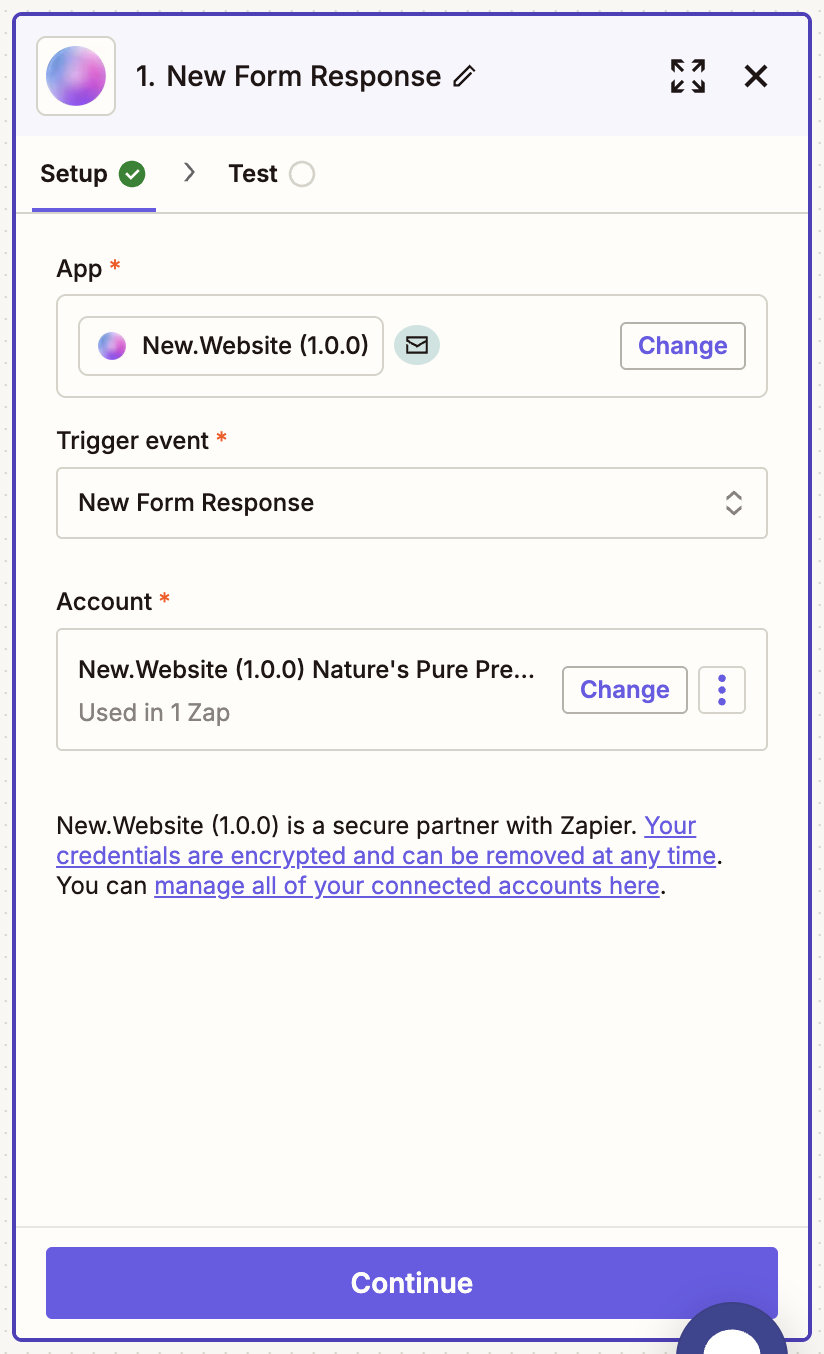
 After successful authentication, your account should show the project you want to connect, like this:
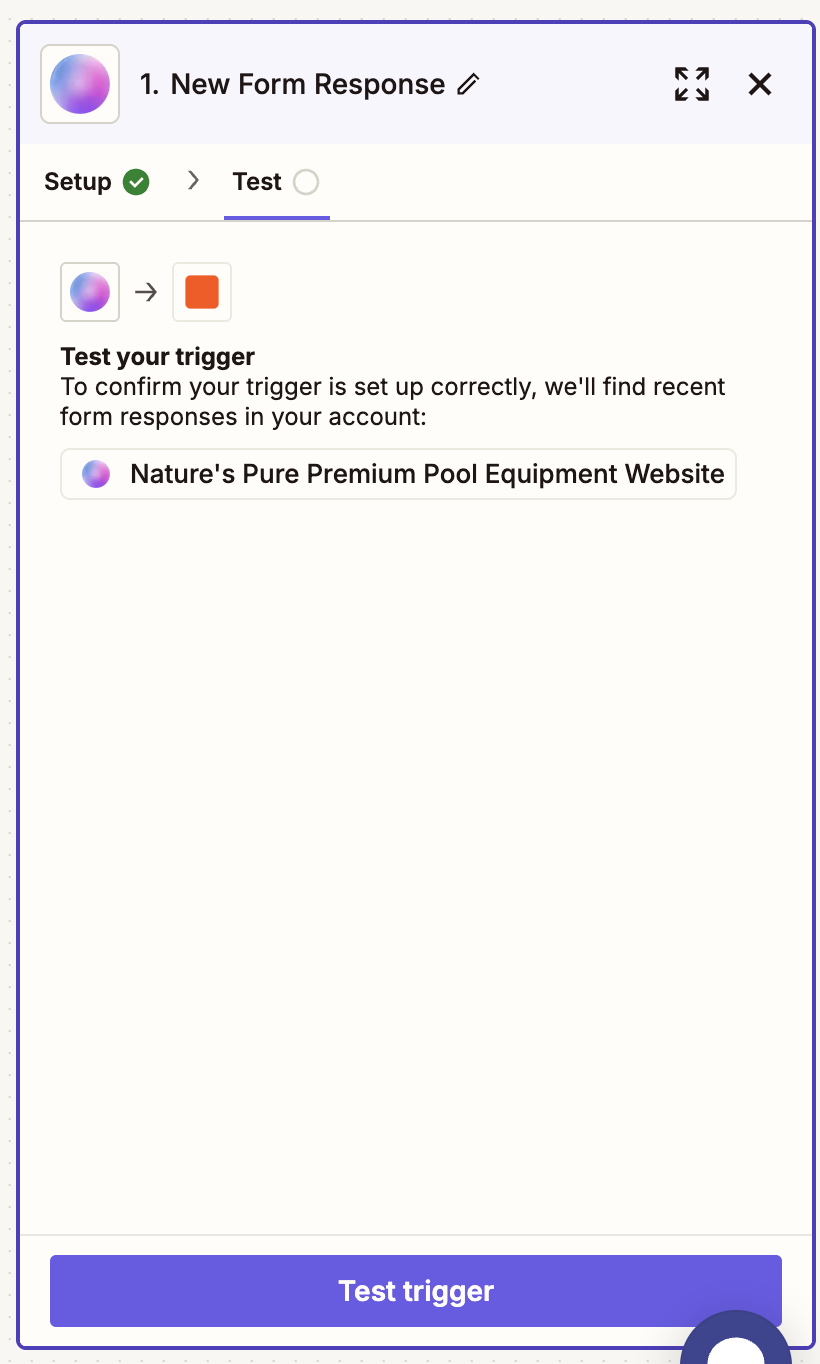
 **Step 8.1**: Start the Test
Click "Test trigger" to verify your connection is working correctly.
**Step 8.1**: Start the Test
Click "Test trigger" to verify your connection is working correctly.
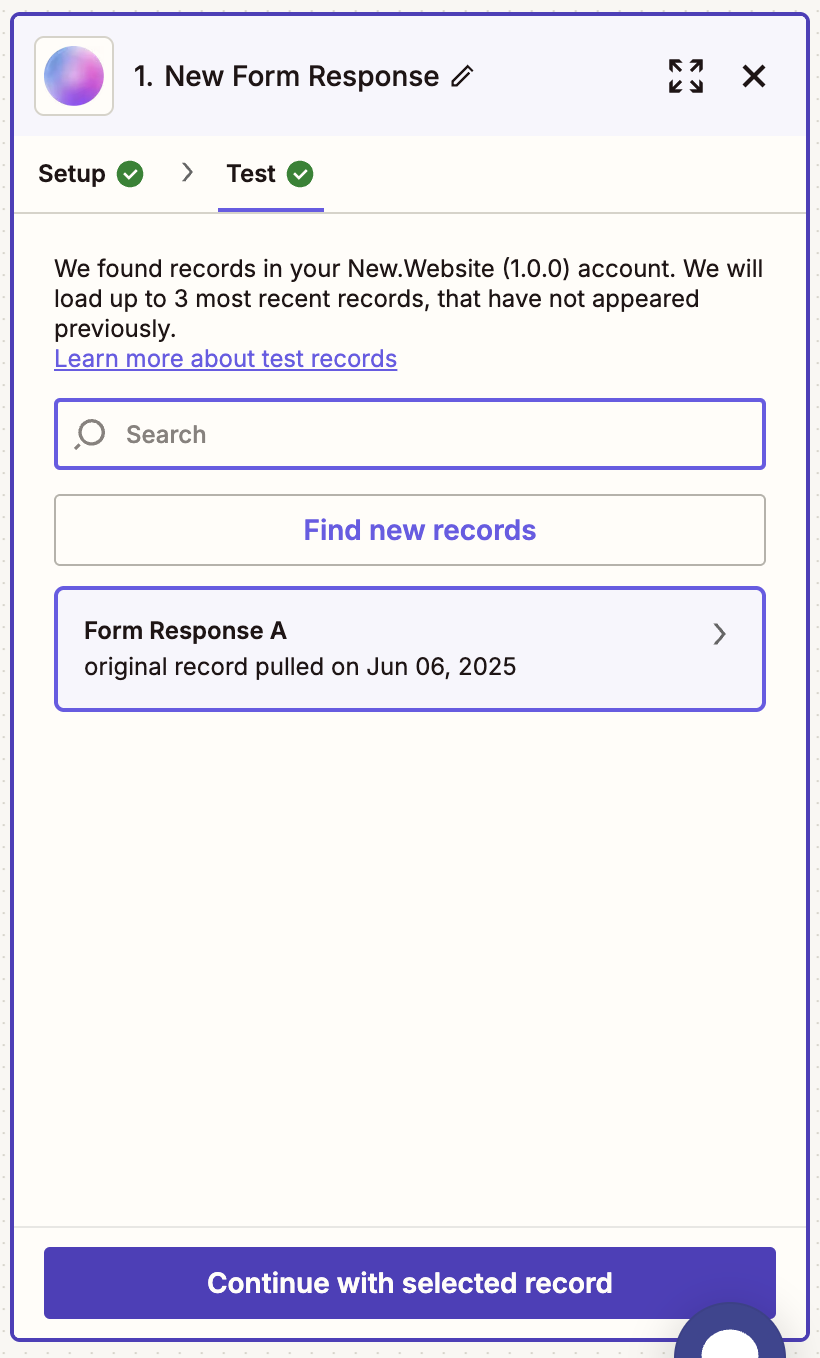
 You should see recent form responses from your account. Select one to continue.
 Select the app you want to connect your form responses to. In this example, we'll use Slack.
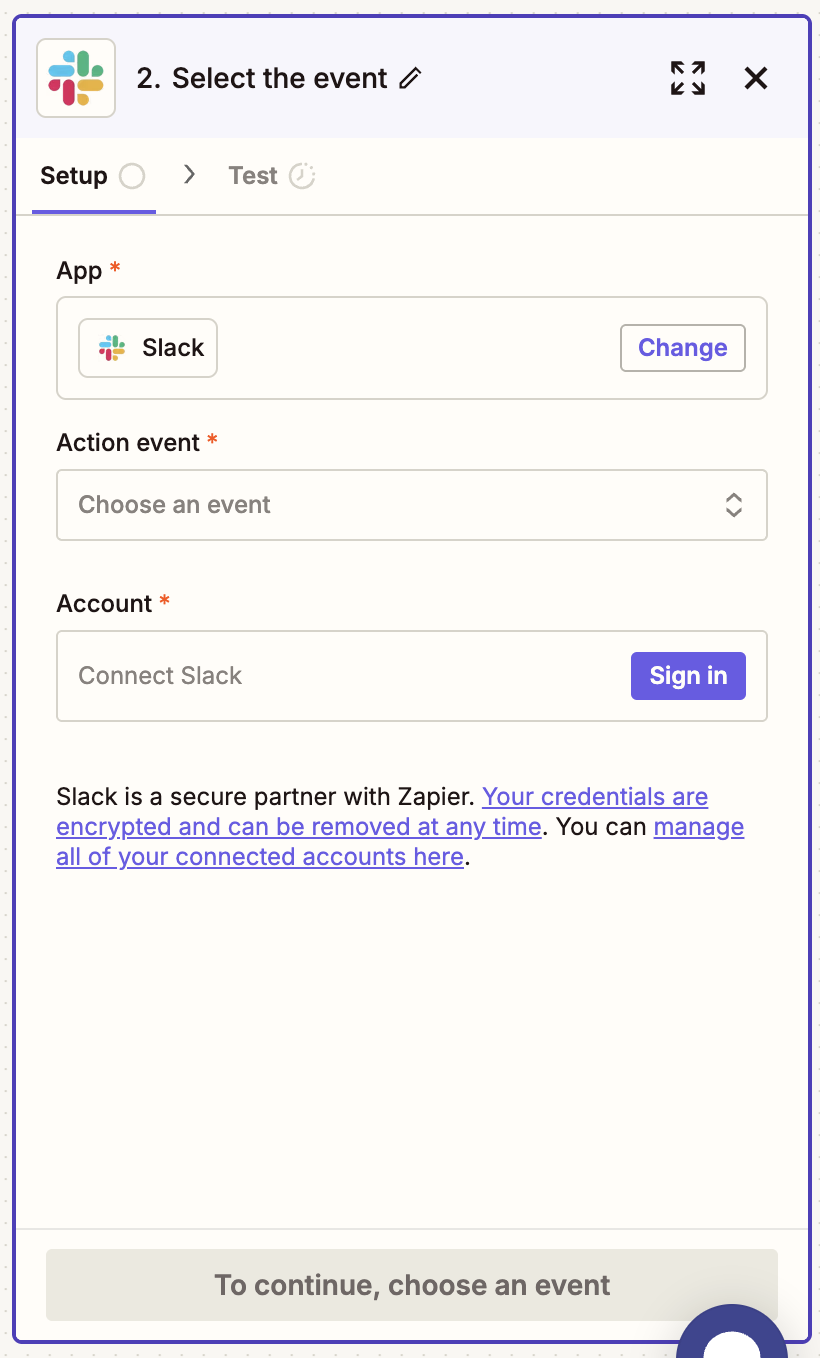 Choose your action event from the dropdown and connect your account by signing in.
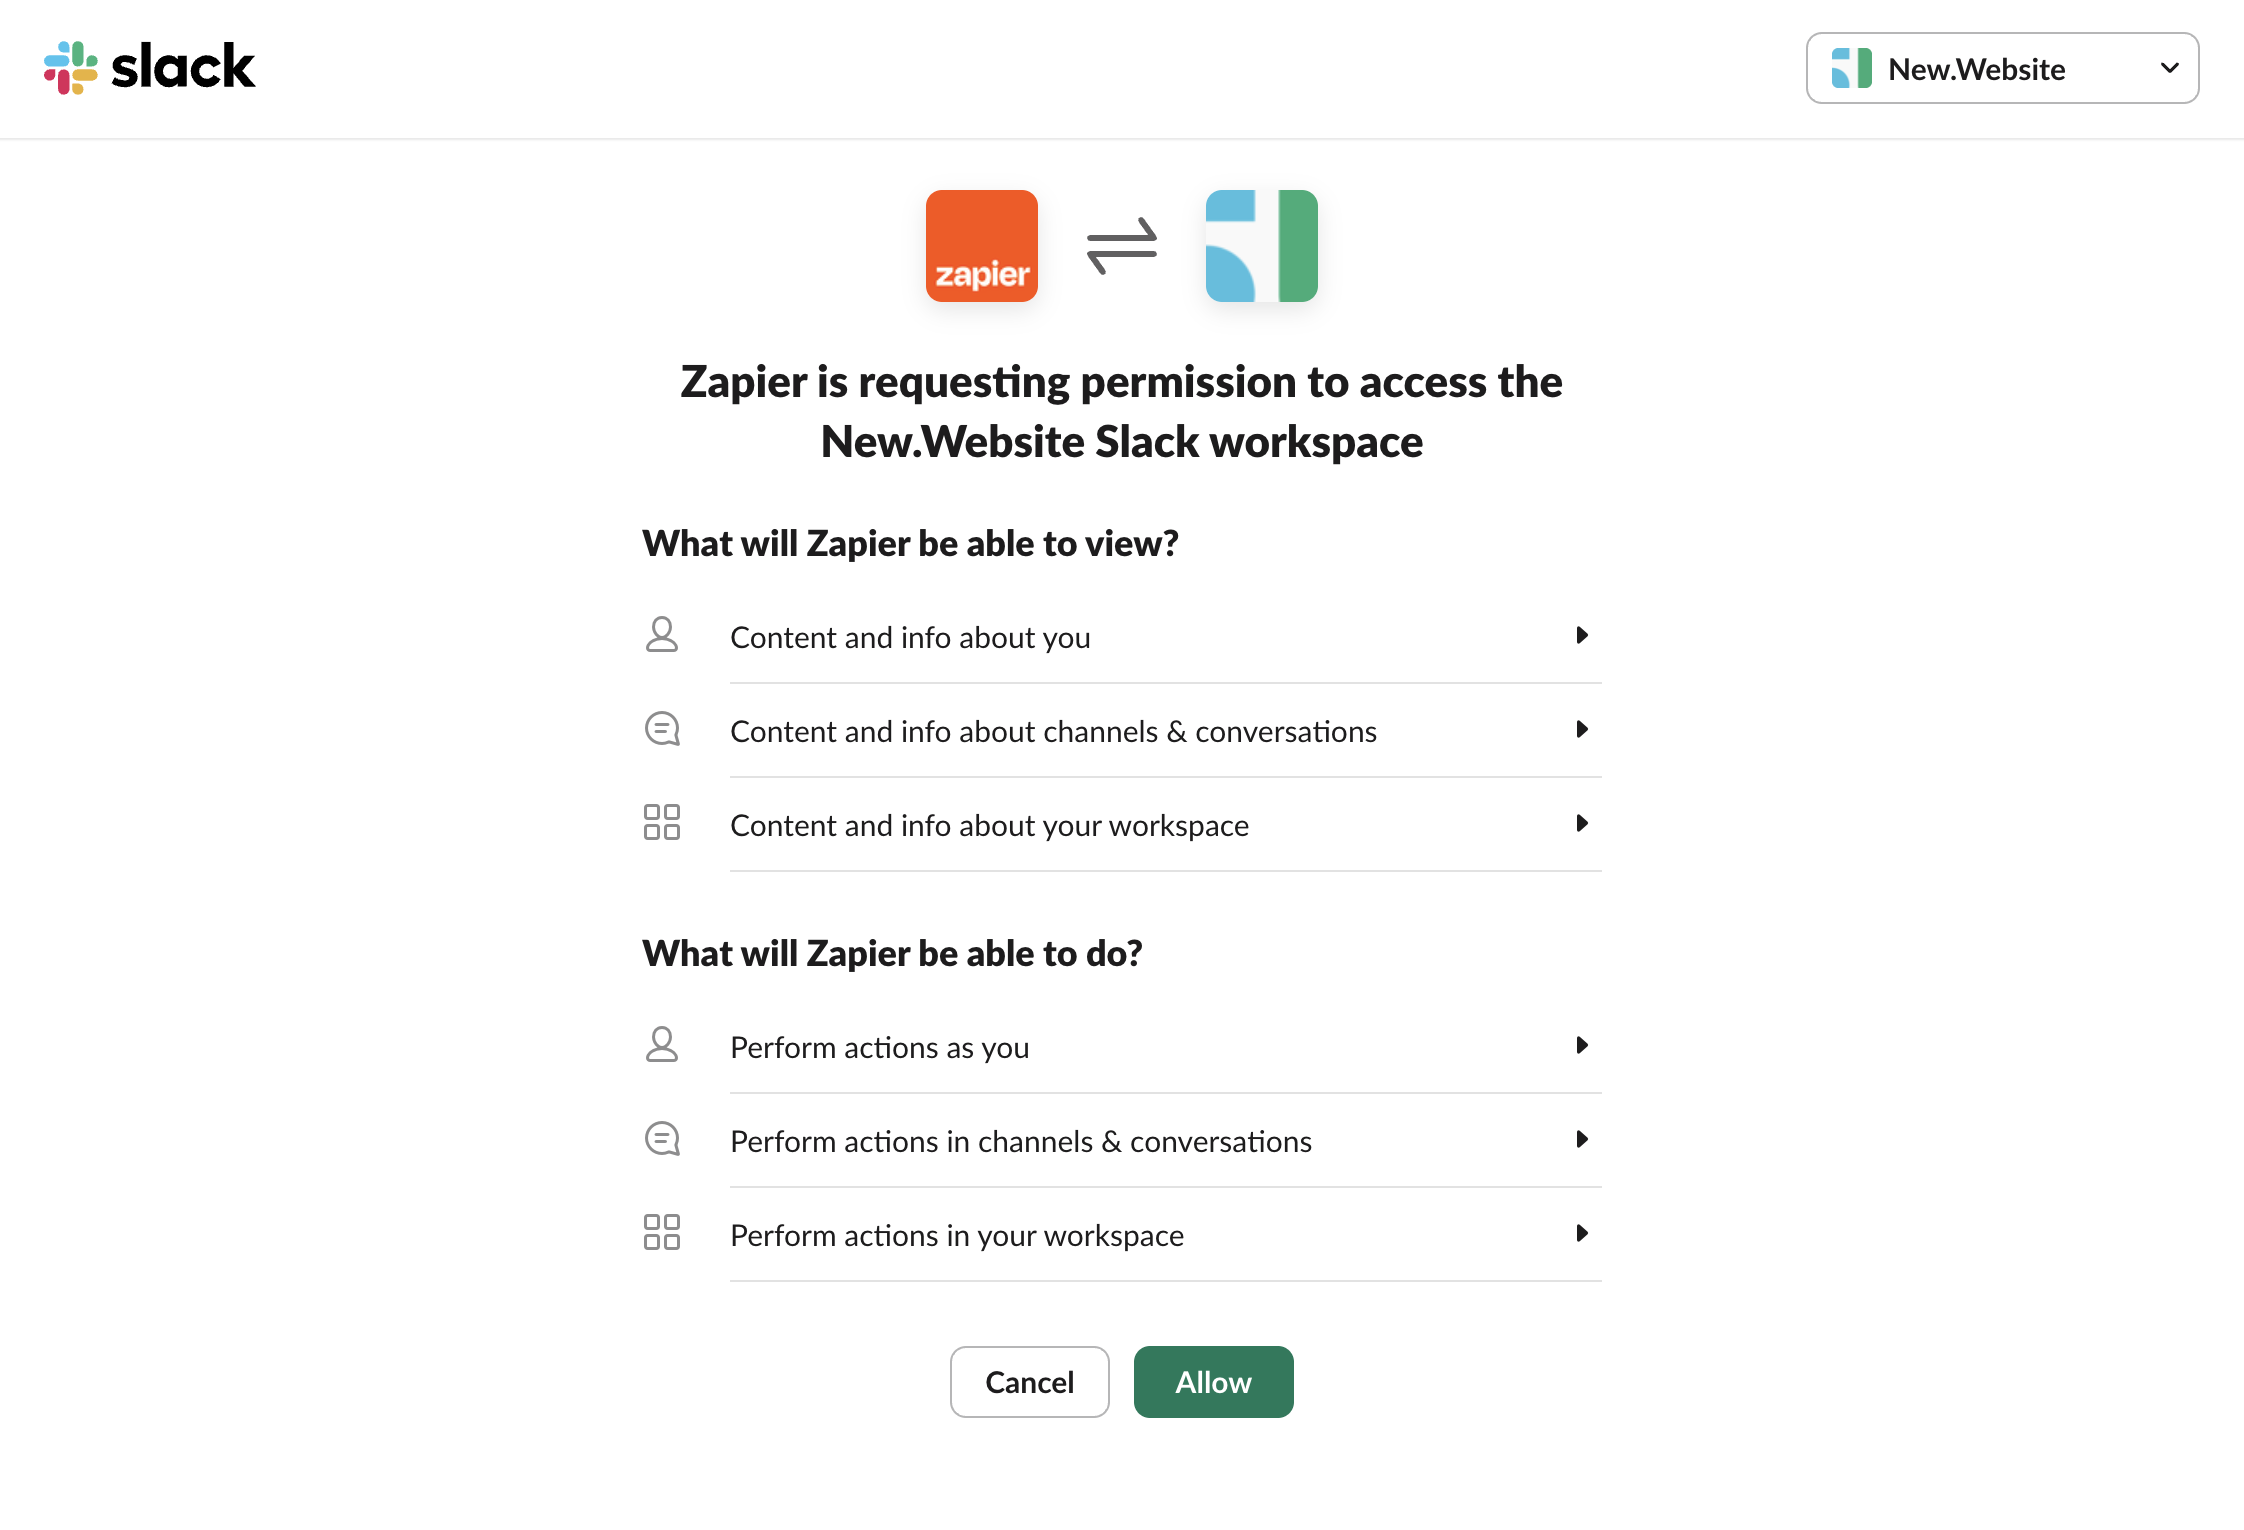
When prompted, click "Allow" to give Zapier permission to access your Slack workspace.
Choose your action event from the dropdown and connect your account by signing in.
When prompted, click "Allow" to give Zapier permission to access your Slack workspace.
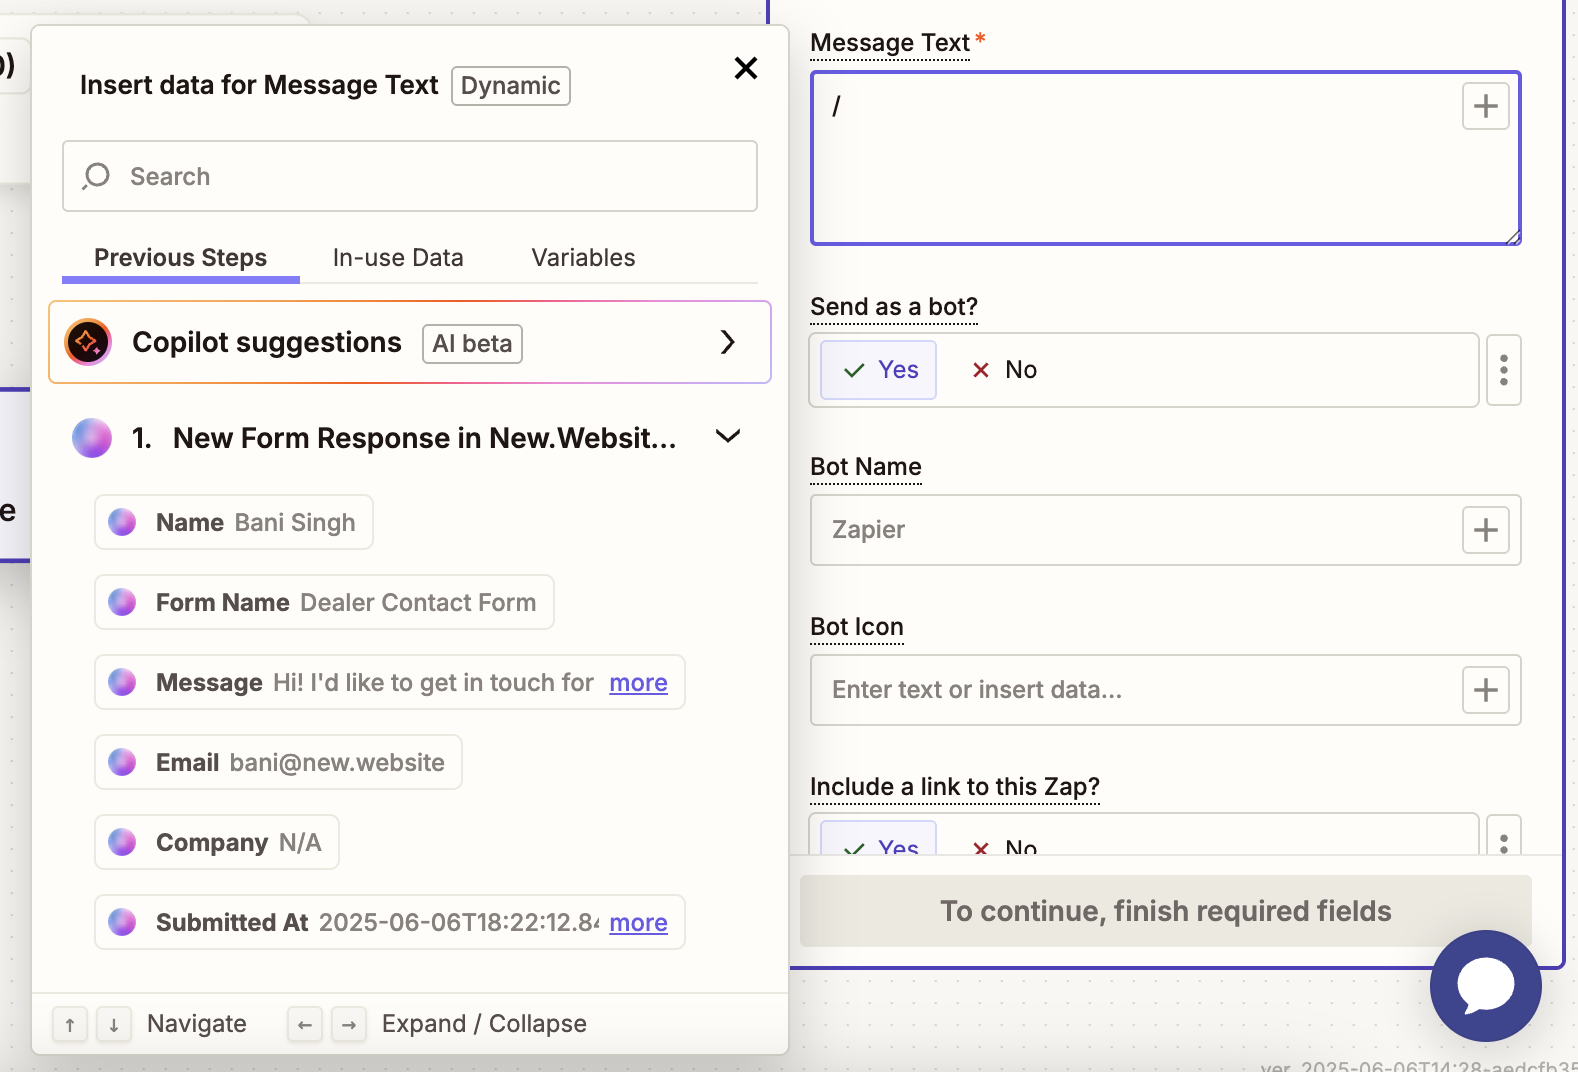
 **Step 10.1**: Access Form Values
Find the Message Text field and click the slash (/) to access dynamic data from your form response.
**Step 10.2**: View Available Data
You'll see all the available values from your new\.website form response, including Name, Email, Message, and other form fields.
**Step 10.1**: Access Form Values
Find the Message Text field and click the slash (/) to access dynamic data from your form response.
**Step 10.2**: View Available Data
You'll see all the available values from your new\.website form response, including Name, Email, Message, and other form fields.
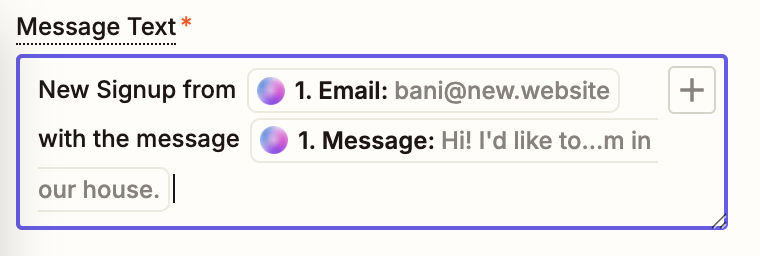
 Create a custom message using the form data. For example:
 **Step 11.1**: Test the Slack Message
Click "Test step" to send a test message to Slack with your form data.
**Step 11.1**: Test the Slack Message
Click "Test step" to send a test message to Slack with your form data.
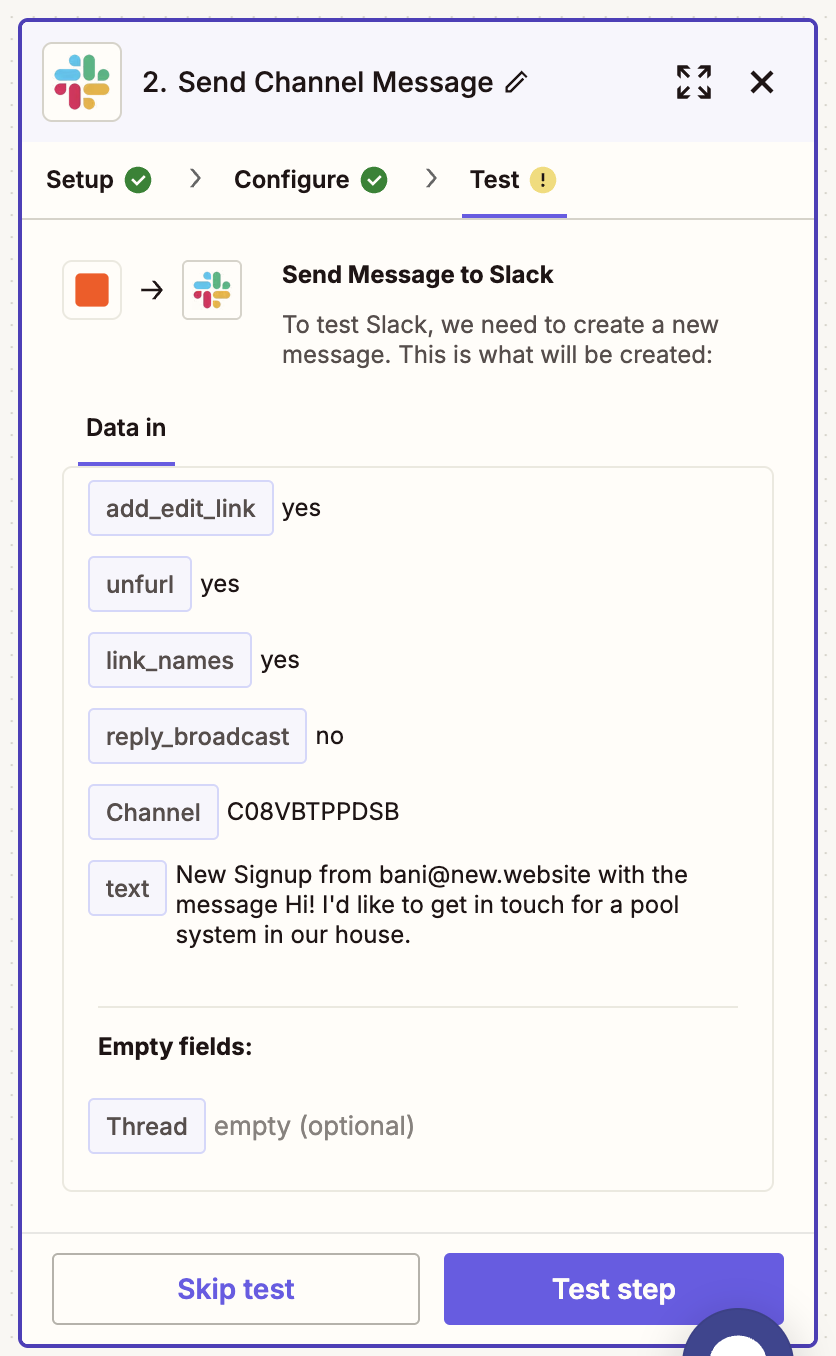 Check your Slack channel to confirm the message was received with the correct form data.
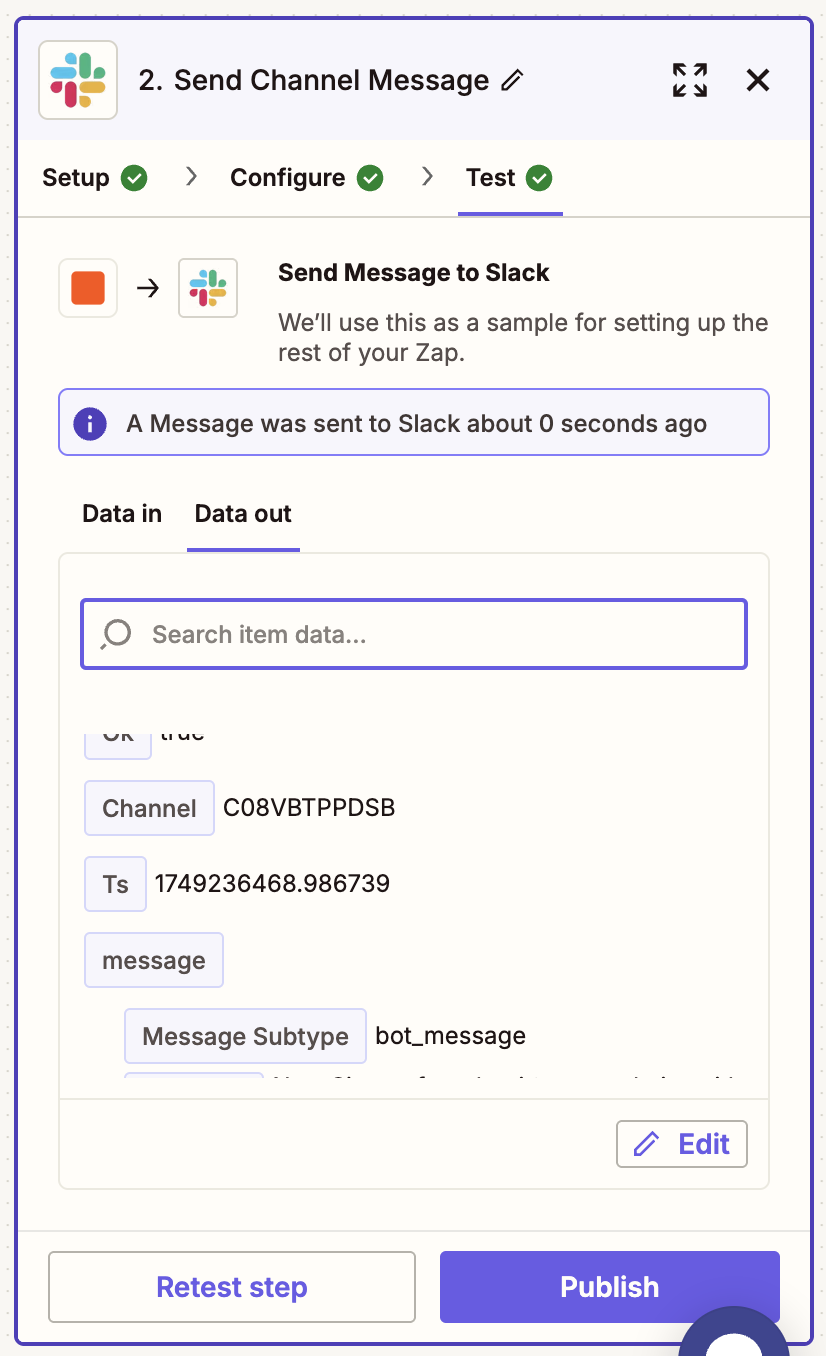
 Click "Publish" to activate your integration. Once published, every form submission will automatically send a message to Slack.
 You'll see a success confirmation showing your Zap is live:
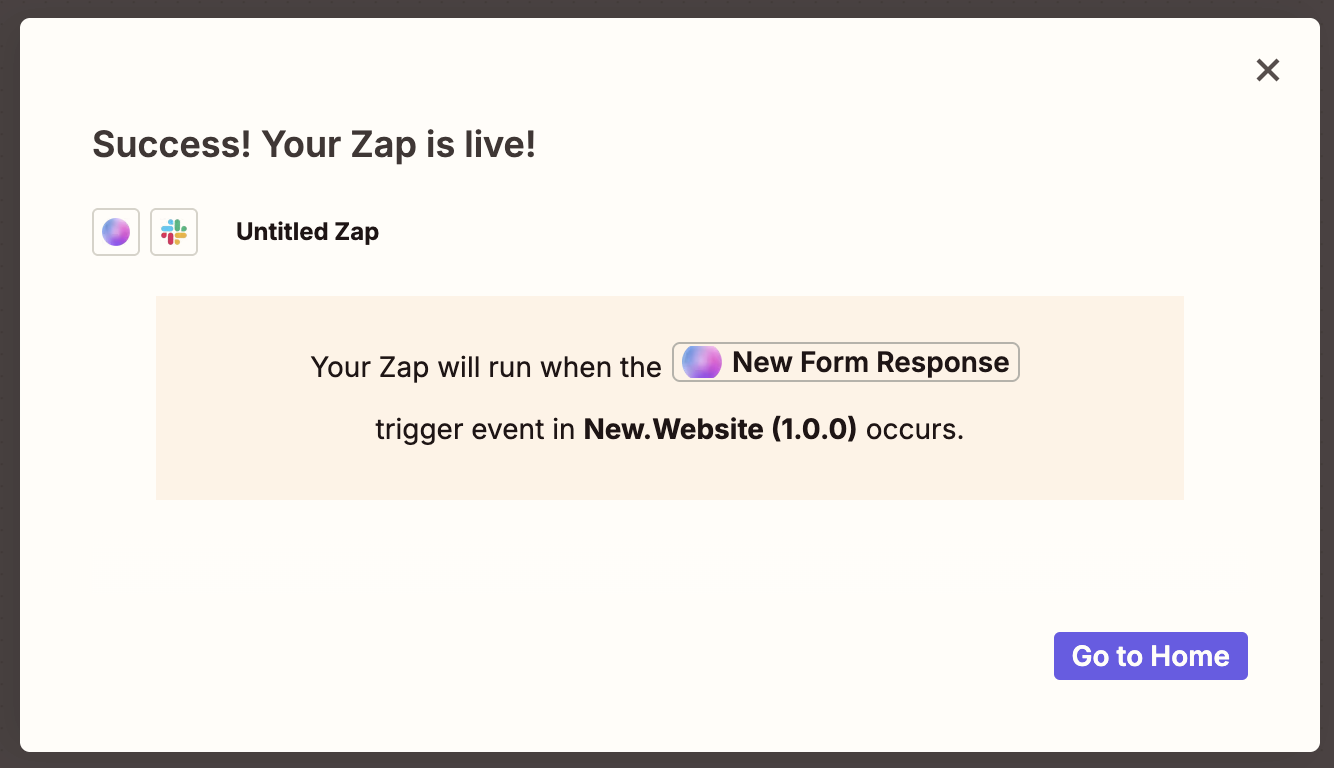 Your Zapier integration is now live! All future form submissions will automatically trigger your Slack notifications.
## Frequently Asked Questions
Zapier integration is available with the Pro plan (\$100/month). You may also need to pay for Zapier separately depending on your usage - check out their pricing [here](https://zapier.com/app/planbuilder/plans).
No, once you connect Zapier to your project, it will automatically capture responses from all forms in that project. You only need to set up the connection once per project.
You can connect to over 8,000 apps including Slack, Gmail, Microsoft Teams, Calendly, Google Sheets, Notion, Trello, MailChimp, and many more. Check Zapier's app directory for the full list.
No, Zapier only processes new form submissions that occur after you set up the integration. Past responses remain in your dashboard but won't trigger Zapier workflows.
Yes, you can create multiple Zaps for the same form. For example, you could send responses to both Slack and Google Sheets, or create different workflows based on form content.
Check your Zapier dashboard to see if there are any errors or if your Zap is turned off. Common issues include expired account connections or reaching Zapier plan limits. You can also test your trigger in Zapier to troubleshoot.
Yes, in Zapier you can add filters and conditions to your Zaps. For example, you could only send notifications for responses that contain certain keywords or come from specific forms.
Yes, all data is transmitted securely between new\.website and Zapier using industry-standard encryption. Zapier is also SOC 2 compliant and follows strict security practices.
Your Zapier integration is now live! All future form submissions will automatically trigger your Slack notifications.
## Frequently Asked Questions
Zapier integration is available with the Pro plan (\$100/month). You may also need to pay for Zapier separately depending on your usage - check out their pricing [here](https://zapier.com/app/planbuilder/plans).
No, once you connect Zapier to your project, it will automatically capture responses from all forms in that project. You only need to set up the connection once per project.
You can connect to over 8,000 apps including Slack, Gmail, Microsoft Teams, Calendly, Google Sheets, Notion, Trello, MailChimp, and many more. Check Zapier's app directory for the full list.
No, Zapier only processes new form submissions that occur after you set up the integration. Past responses remain in your dashboard but won't trigger Zapier workflows.
Yes, you can create multiple Zaps for the same form. For example, you could send responses to both Slack and Google Sheets, or create different workflows based on form content.
Check your Zapier dashboard to see if there are any errors or if your Zap is turned off. Common issues include expired account connections or reaching Zapier plan limits. You can also test your trigger in Zapier to troubleshoot.
Yes, in Zapier you can add filters and conditions to your Zaps. For example, you could only send notifications for responses that contain certain keywords or come from specific forms.
Yes, all data is transmitted securely between new\.website and Zapier using industry-standard encryption. Zapier is also SOC 2 compliant and follows strict security practices.